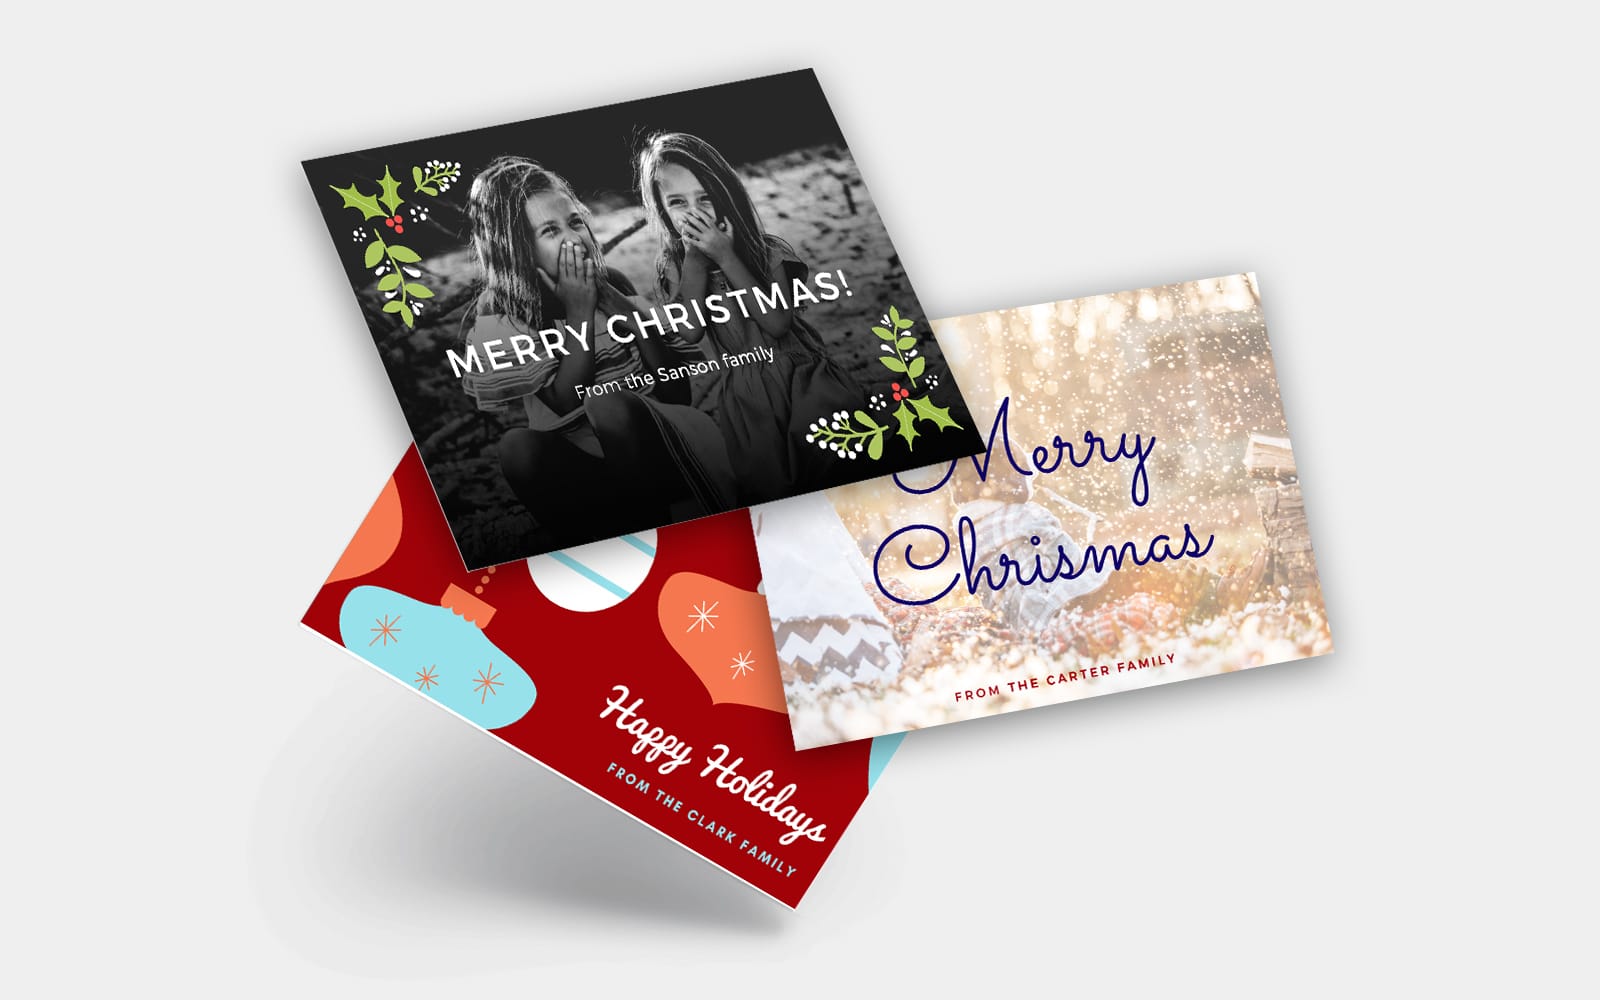
Creating a professional, personalised Christmas card may seem difficult. I’m glad to tell you that it’s not! If you haven’t used Canva before, you’re going to be blown away by the capabilities this free online design software offers. There are so many things that you can design with Canva. Today – in the spirit of the holiday season – I’m going to show you how to quickly and easily create a custom Christmas card using my step-by-step guide.
Step 1 – Getting started
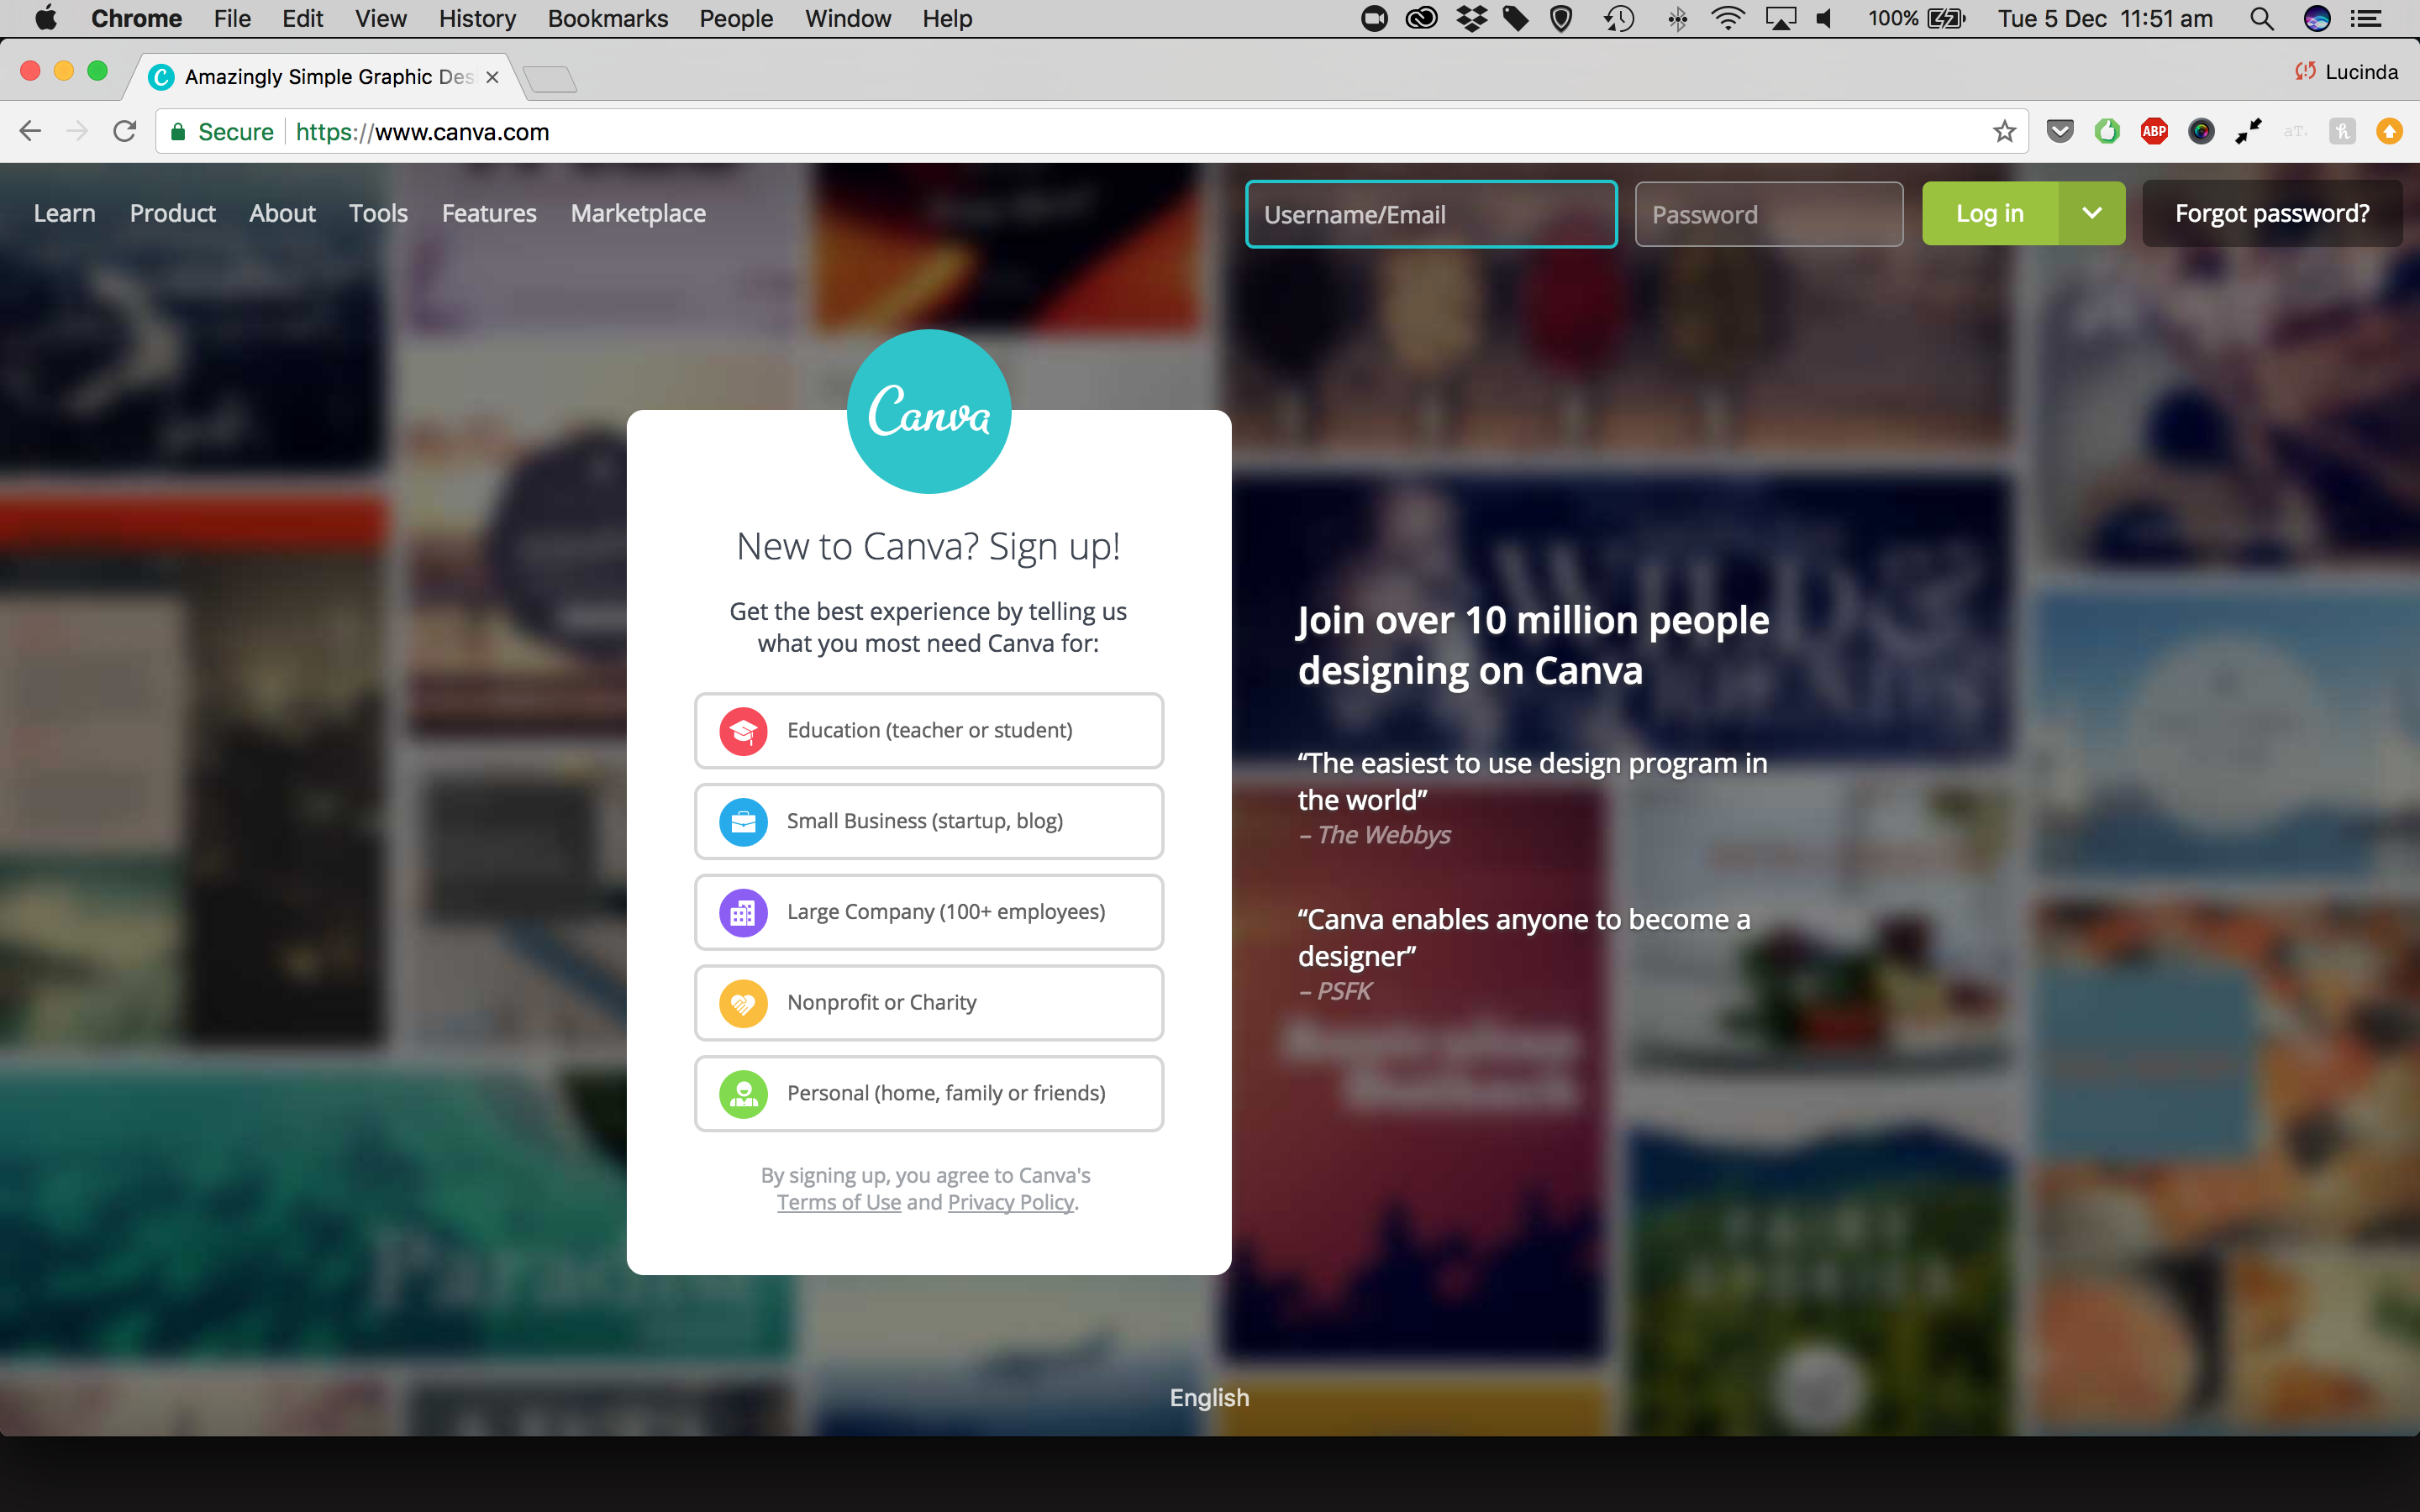
Go online to the Canva website and sign up or login
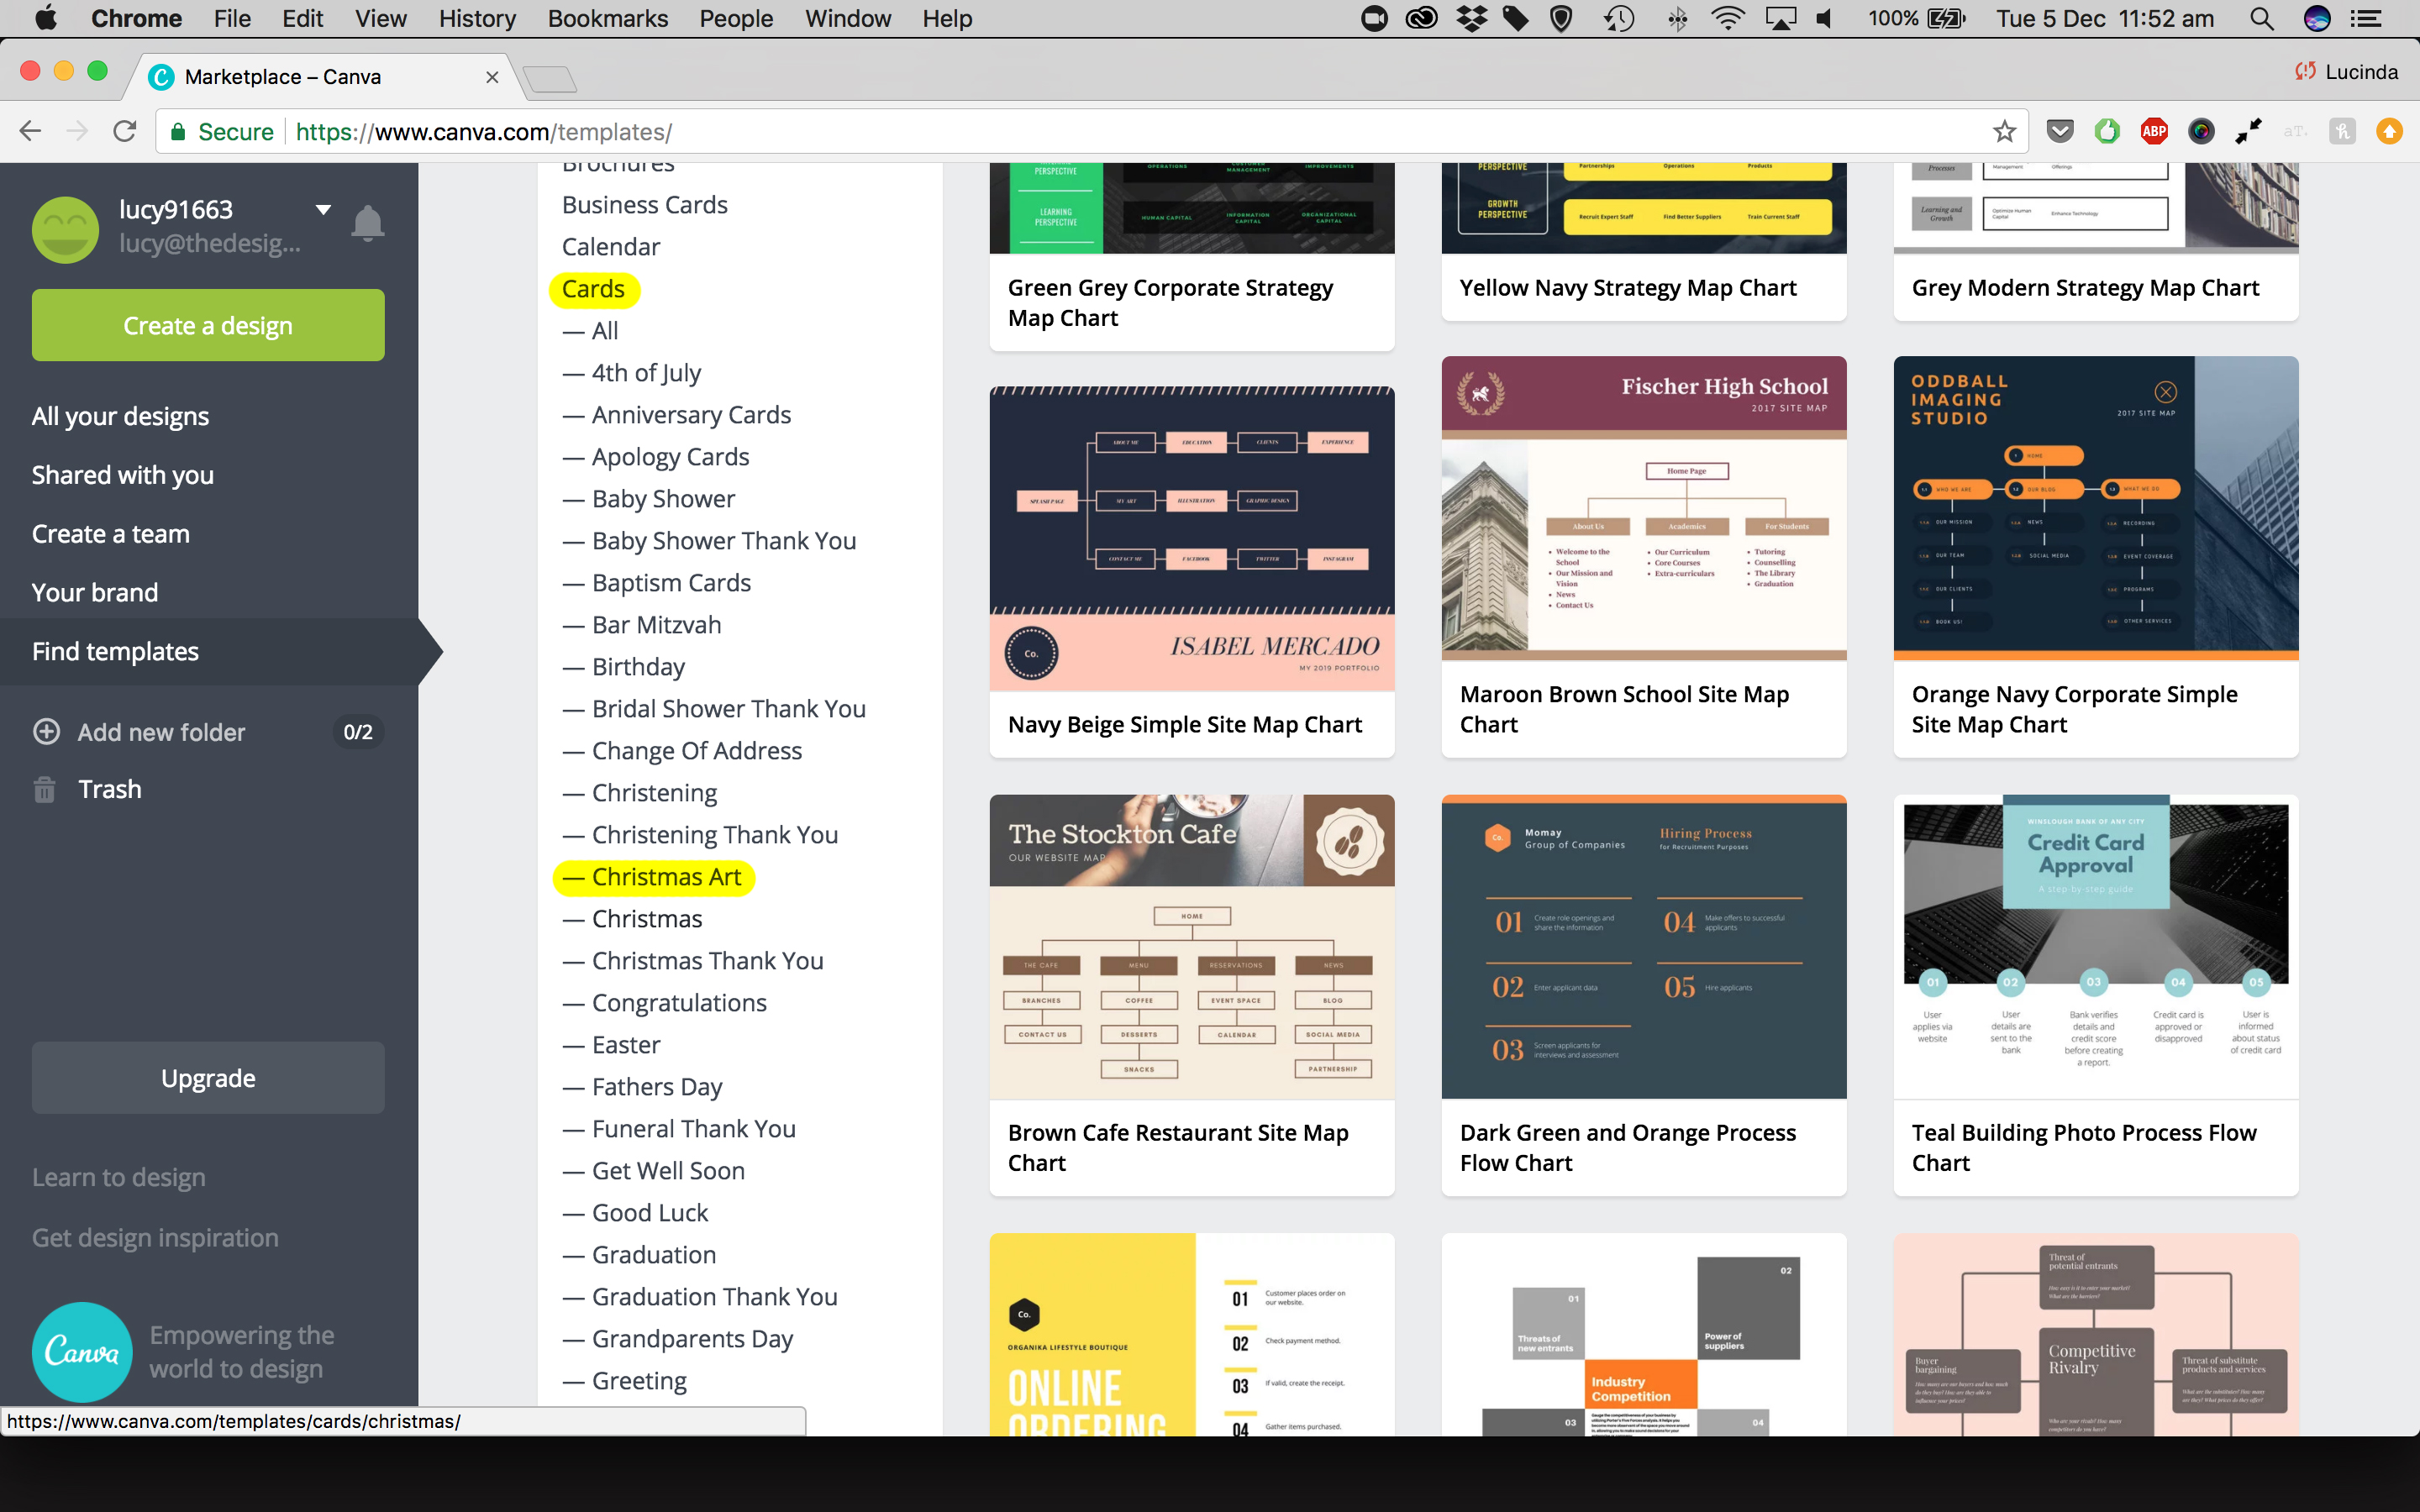
In the left hand tab select ‘Find Template’, then scroll down to ‘Cards’, then ‘Christmas’
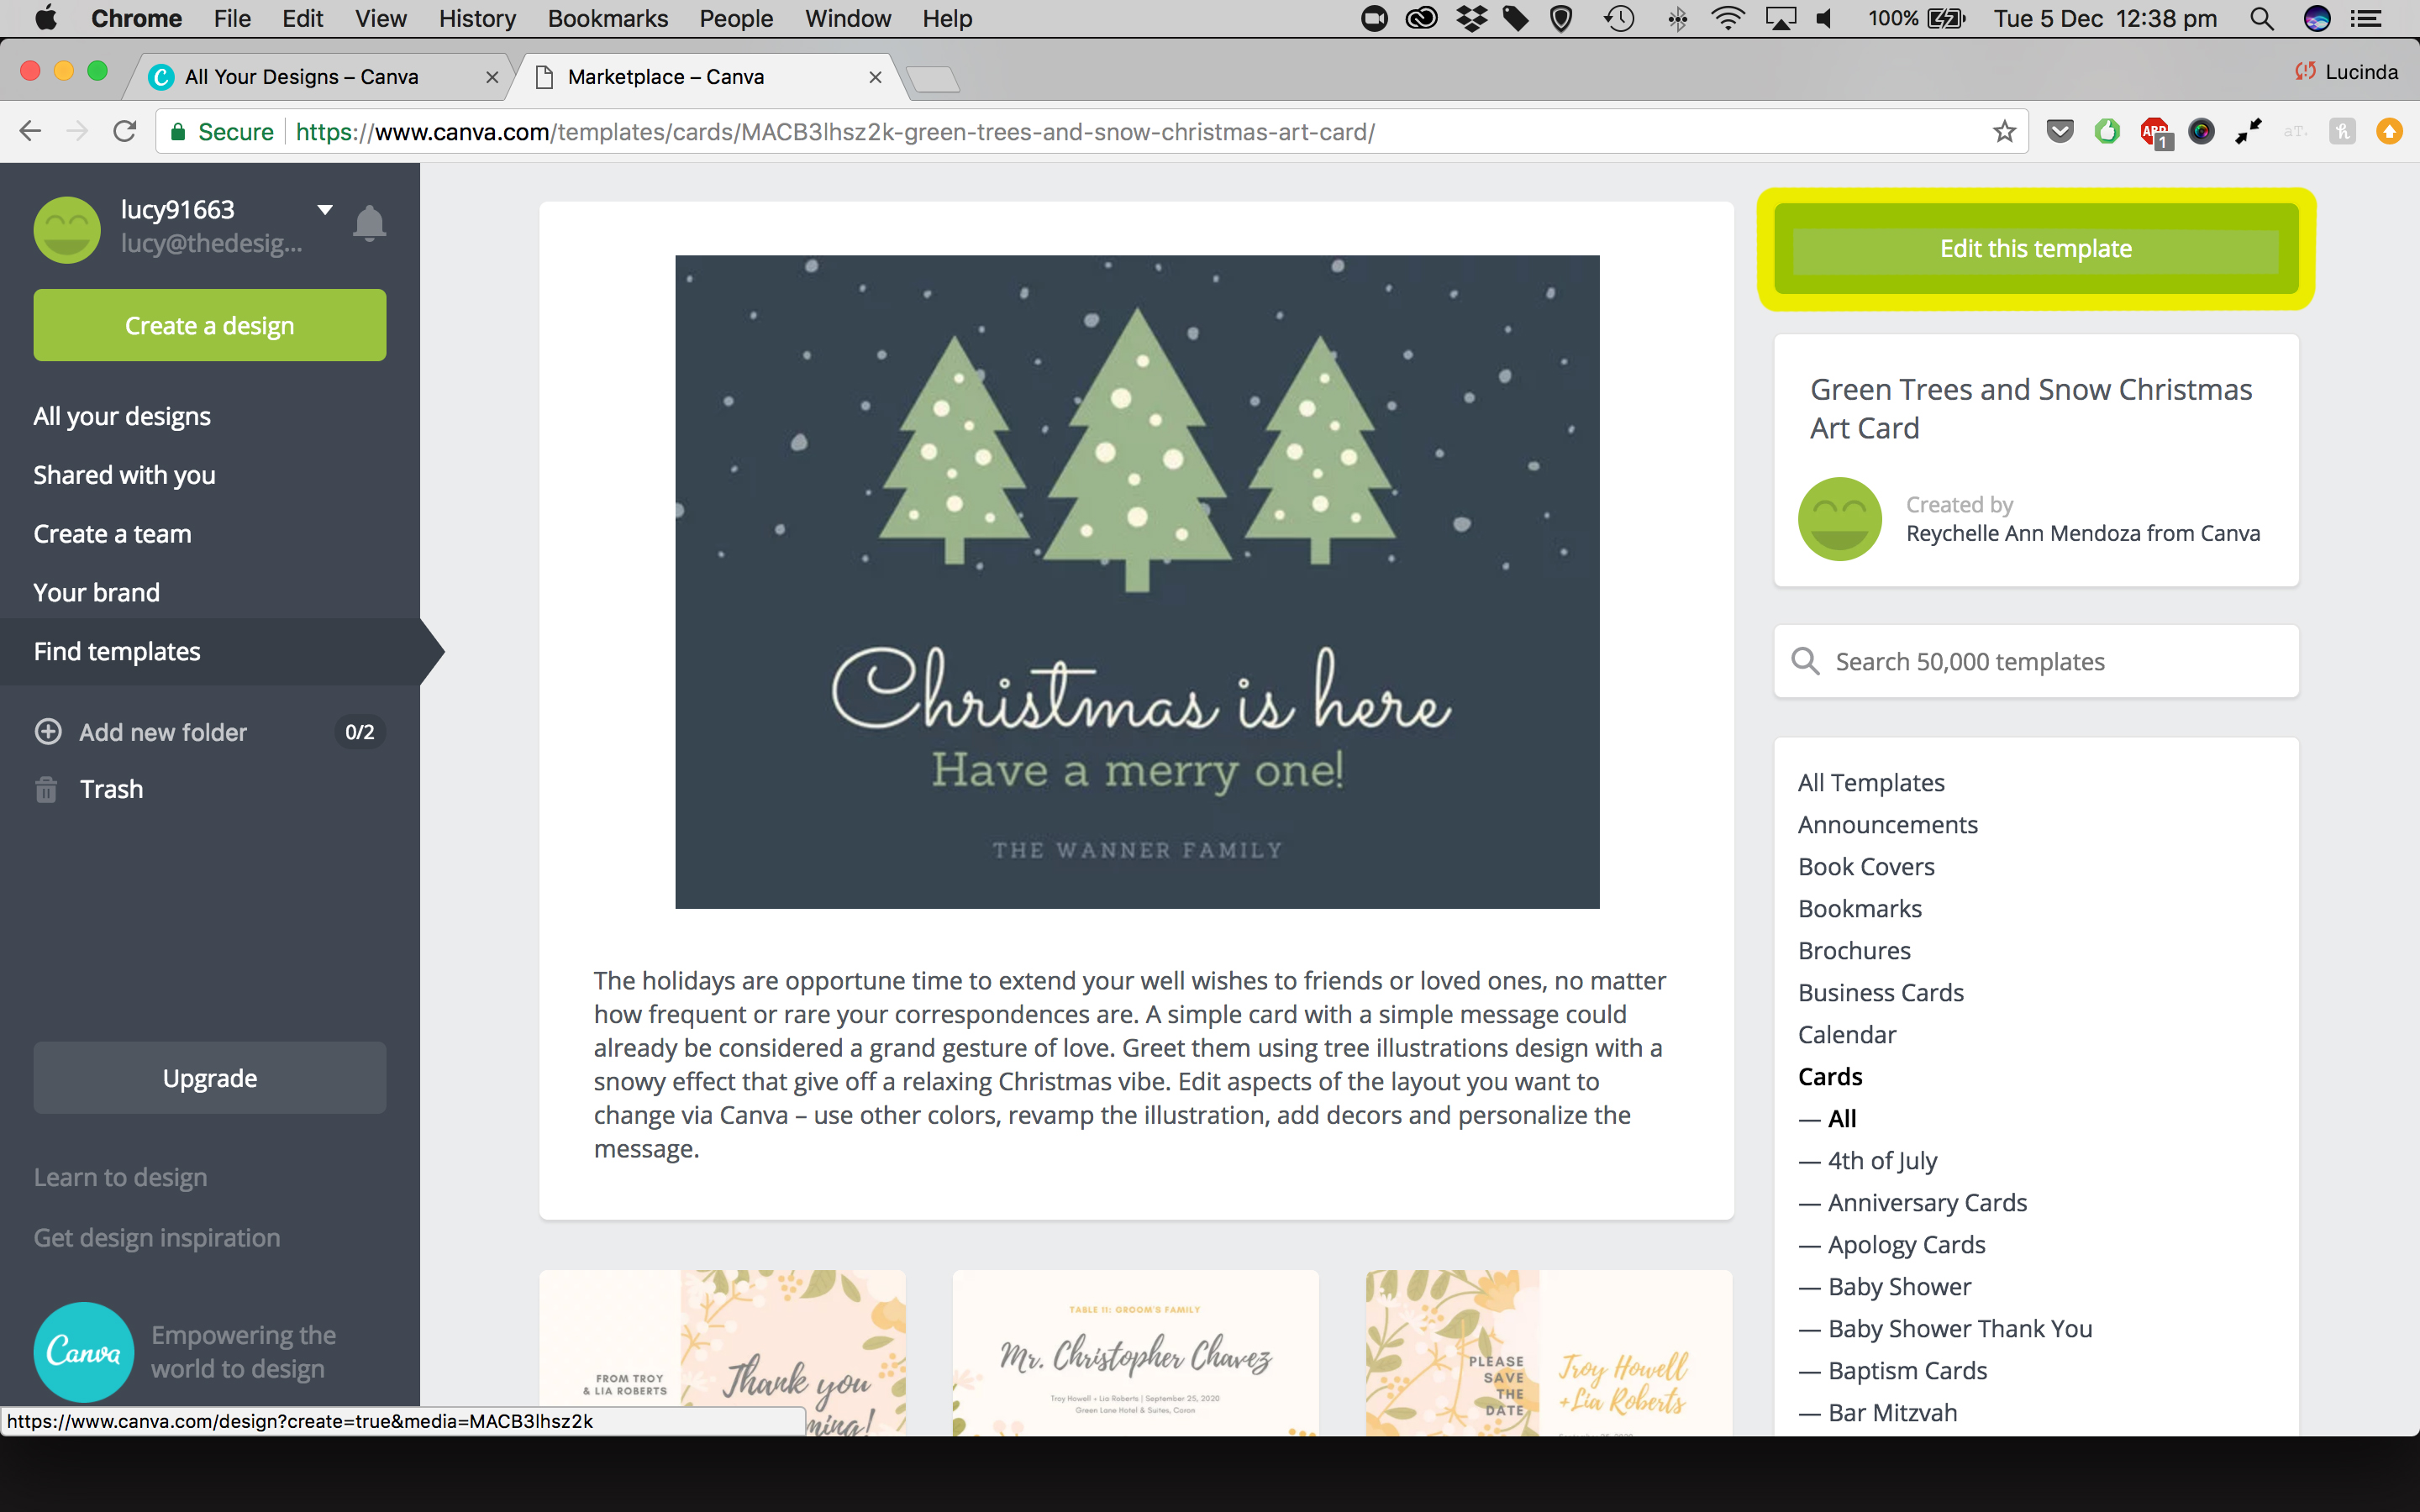
Have a browse through the templates and click on your favourite. Once you are in the template select ‘Edit this template’
This is where the fun begins! You can change so many aspects of the template, the options are limitless!
Step 2 – Background
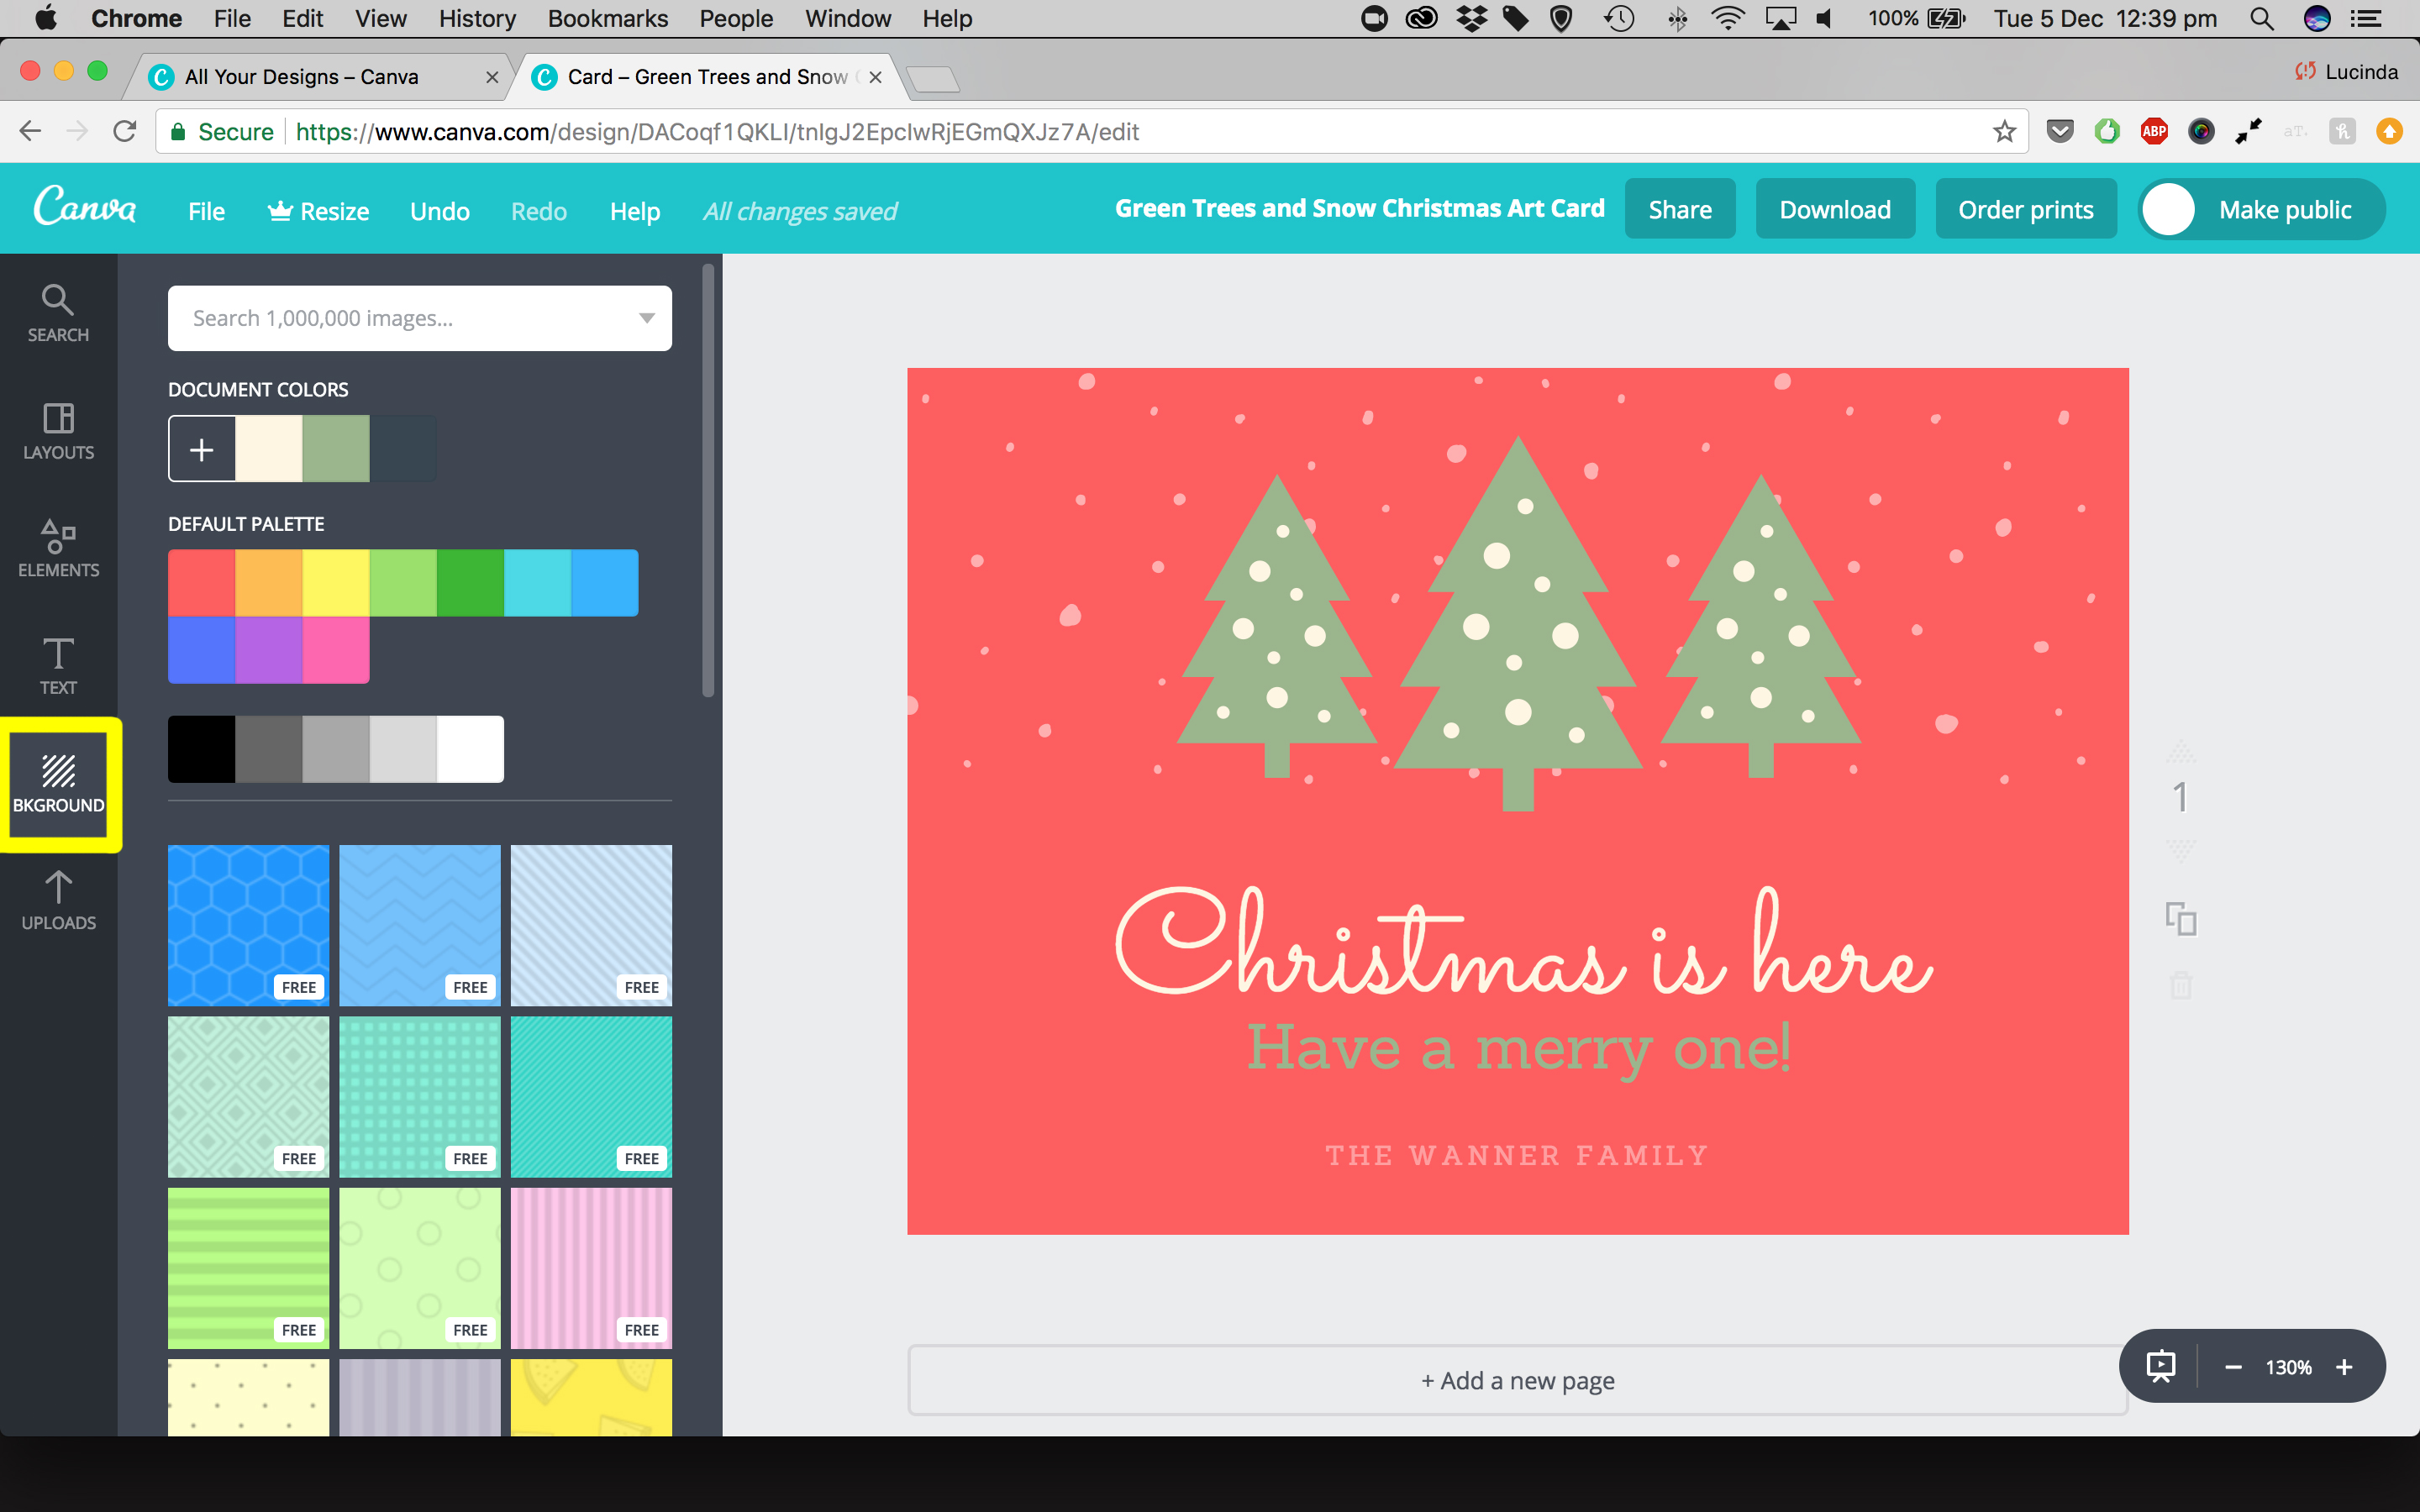
The first thing I have changed is the background. Select the ‘Background’ tab in the left panel. Here you can select a new colour, either by selecting a colour from the Default palette, or by clicking the ‘+’ button and choosing a new colour.
* Note: you can also select a background pattern instead of a colour.
Step 3 – Text
Select a text box and highlight the text. From here you can edit the text, change the font, size colour, boldness, alignment and more! All of these tools can be found in the top white bar. The easiest way to get your head around this is to have a play


* Note: you can always select ‘undo’ in the button in the top teal bar to go back a step or several.

* Note: you can delete a text box, or any other object by selecting it and clicking the trash bin in the top right corner of the white bar.

* Note: you can adjust the transparency of a text box, or any other object, by clicking the gradient icon in the top white bar.
Step 4 – Objects
You can play around with the objects in the template, move them, delete them, change their sizes by dragging their corners and change the colours.
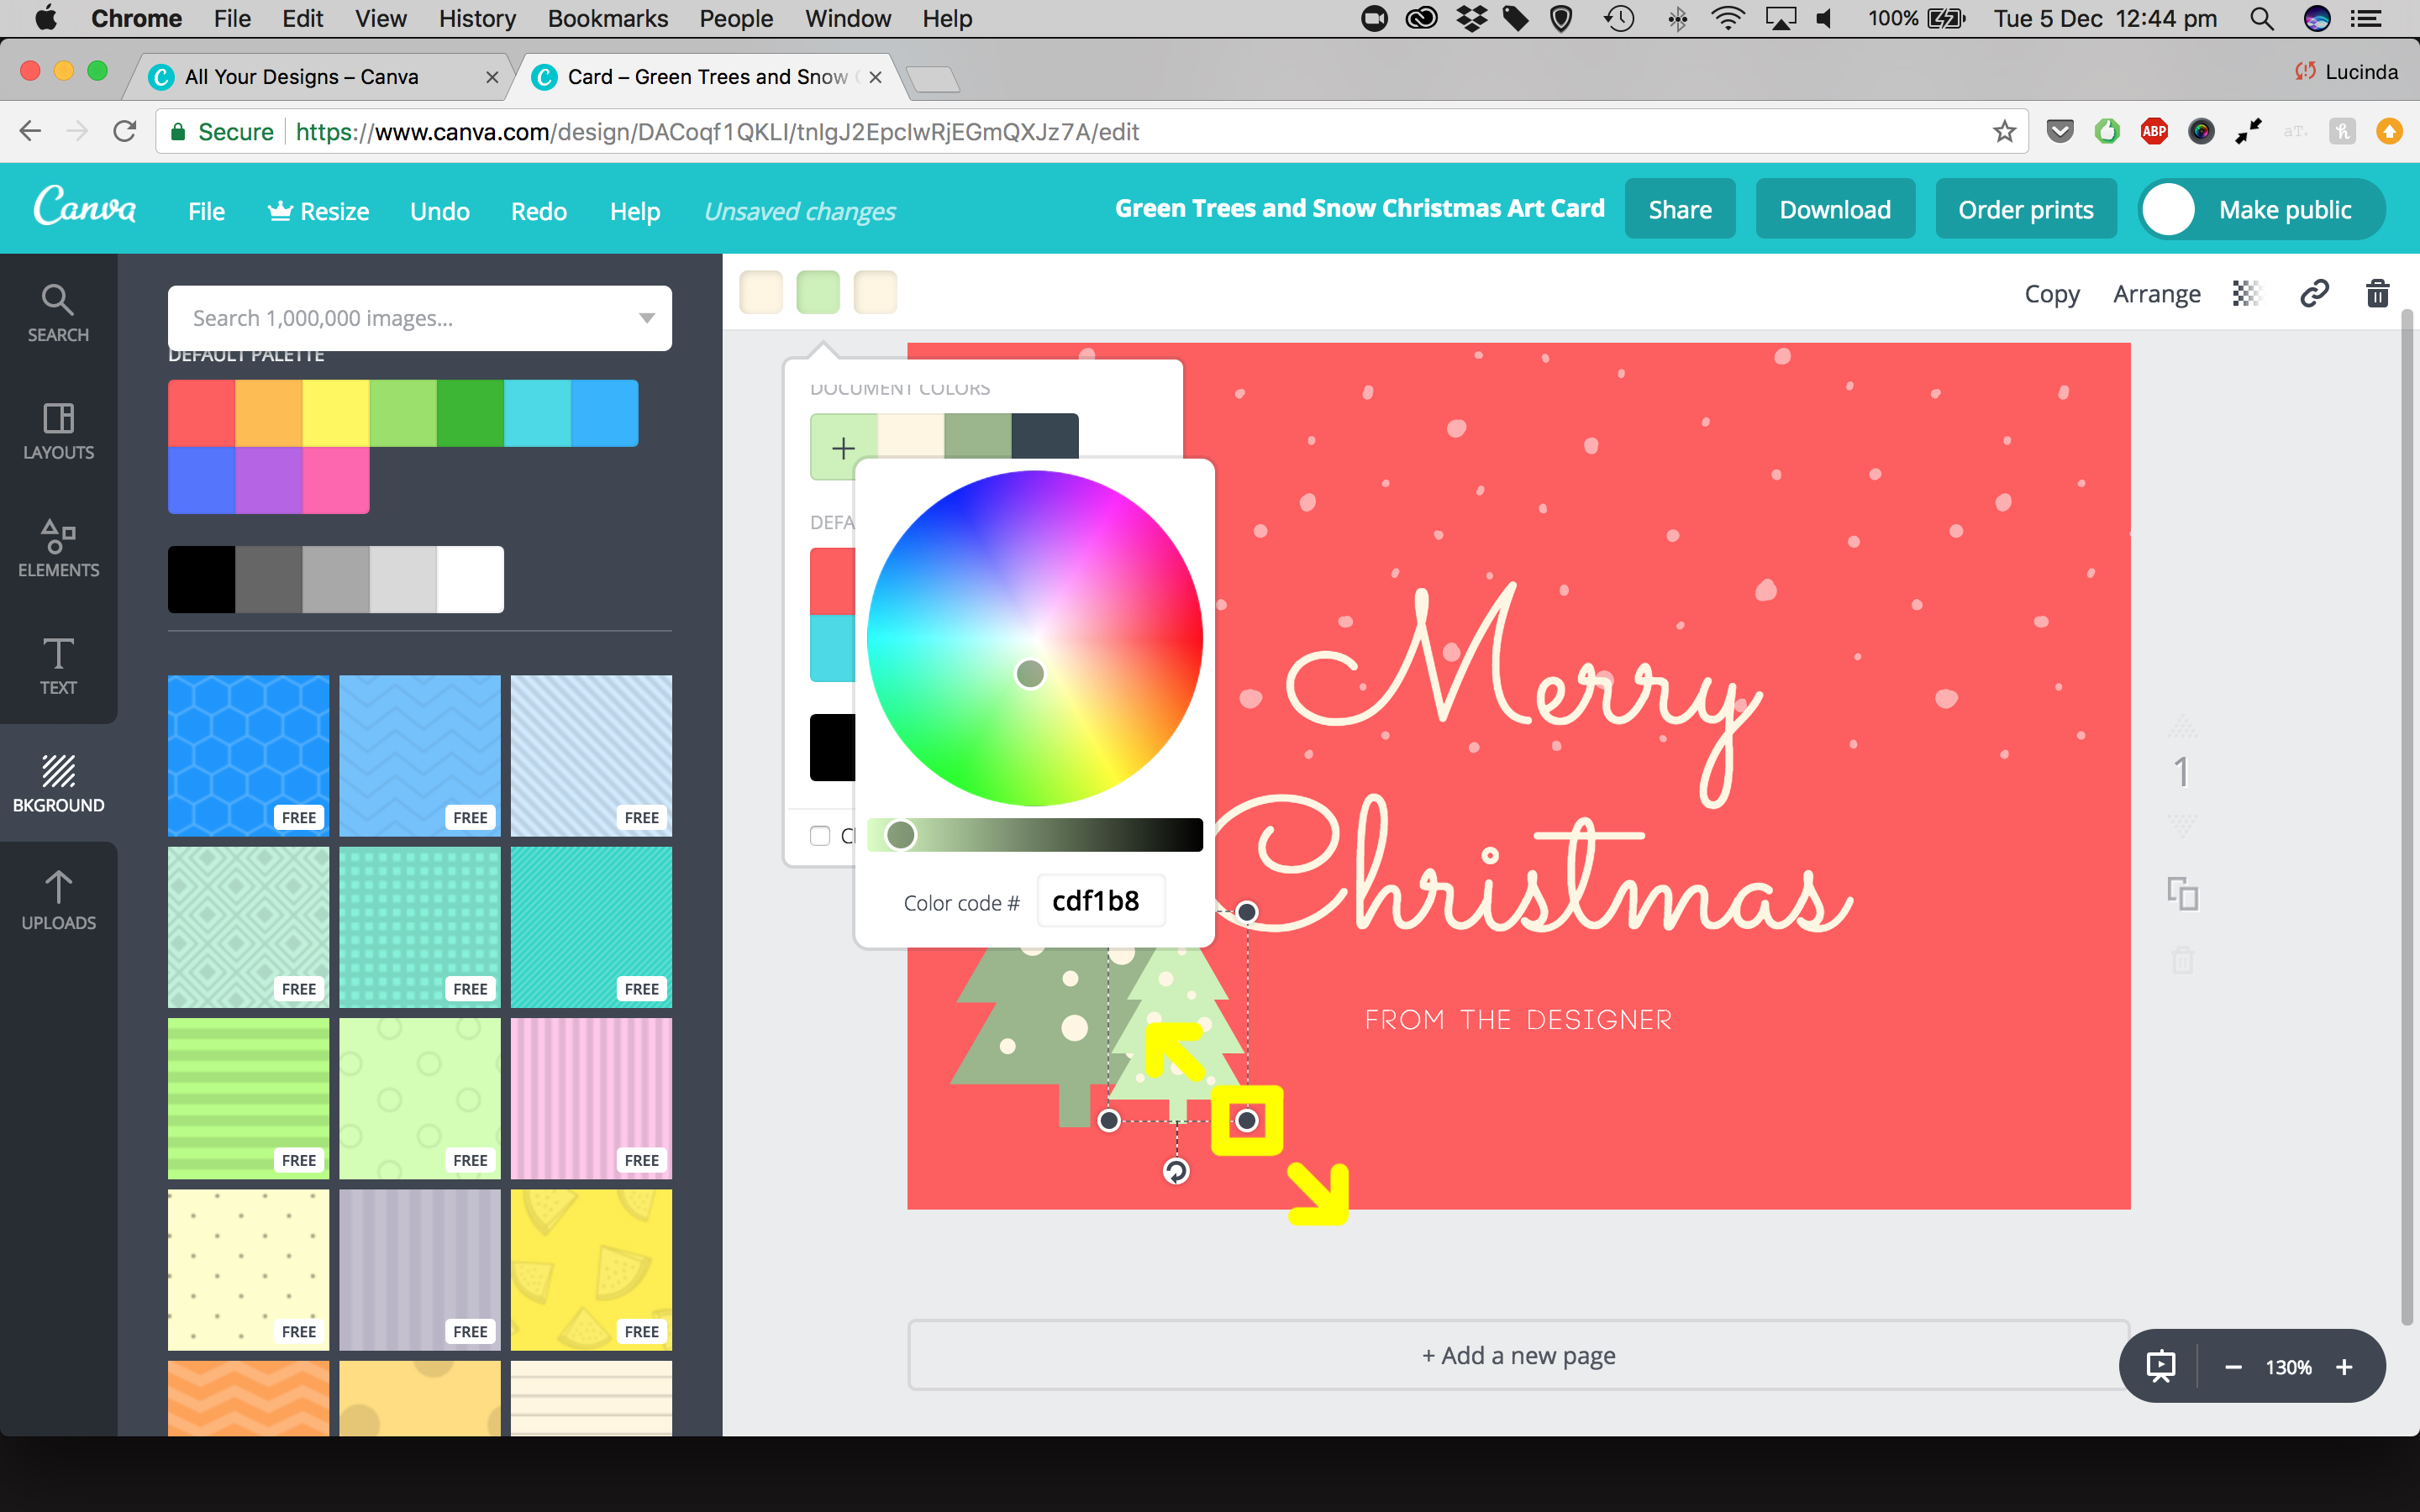
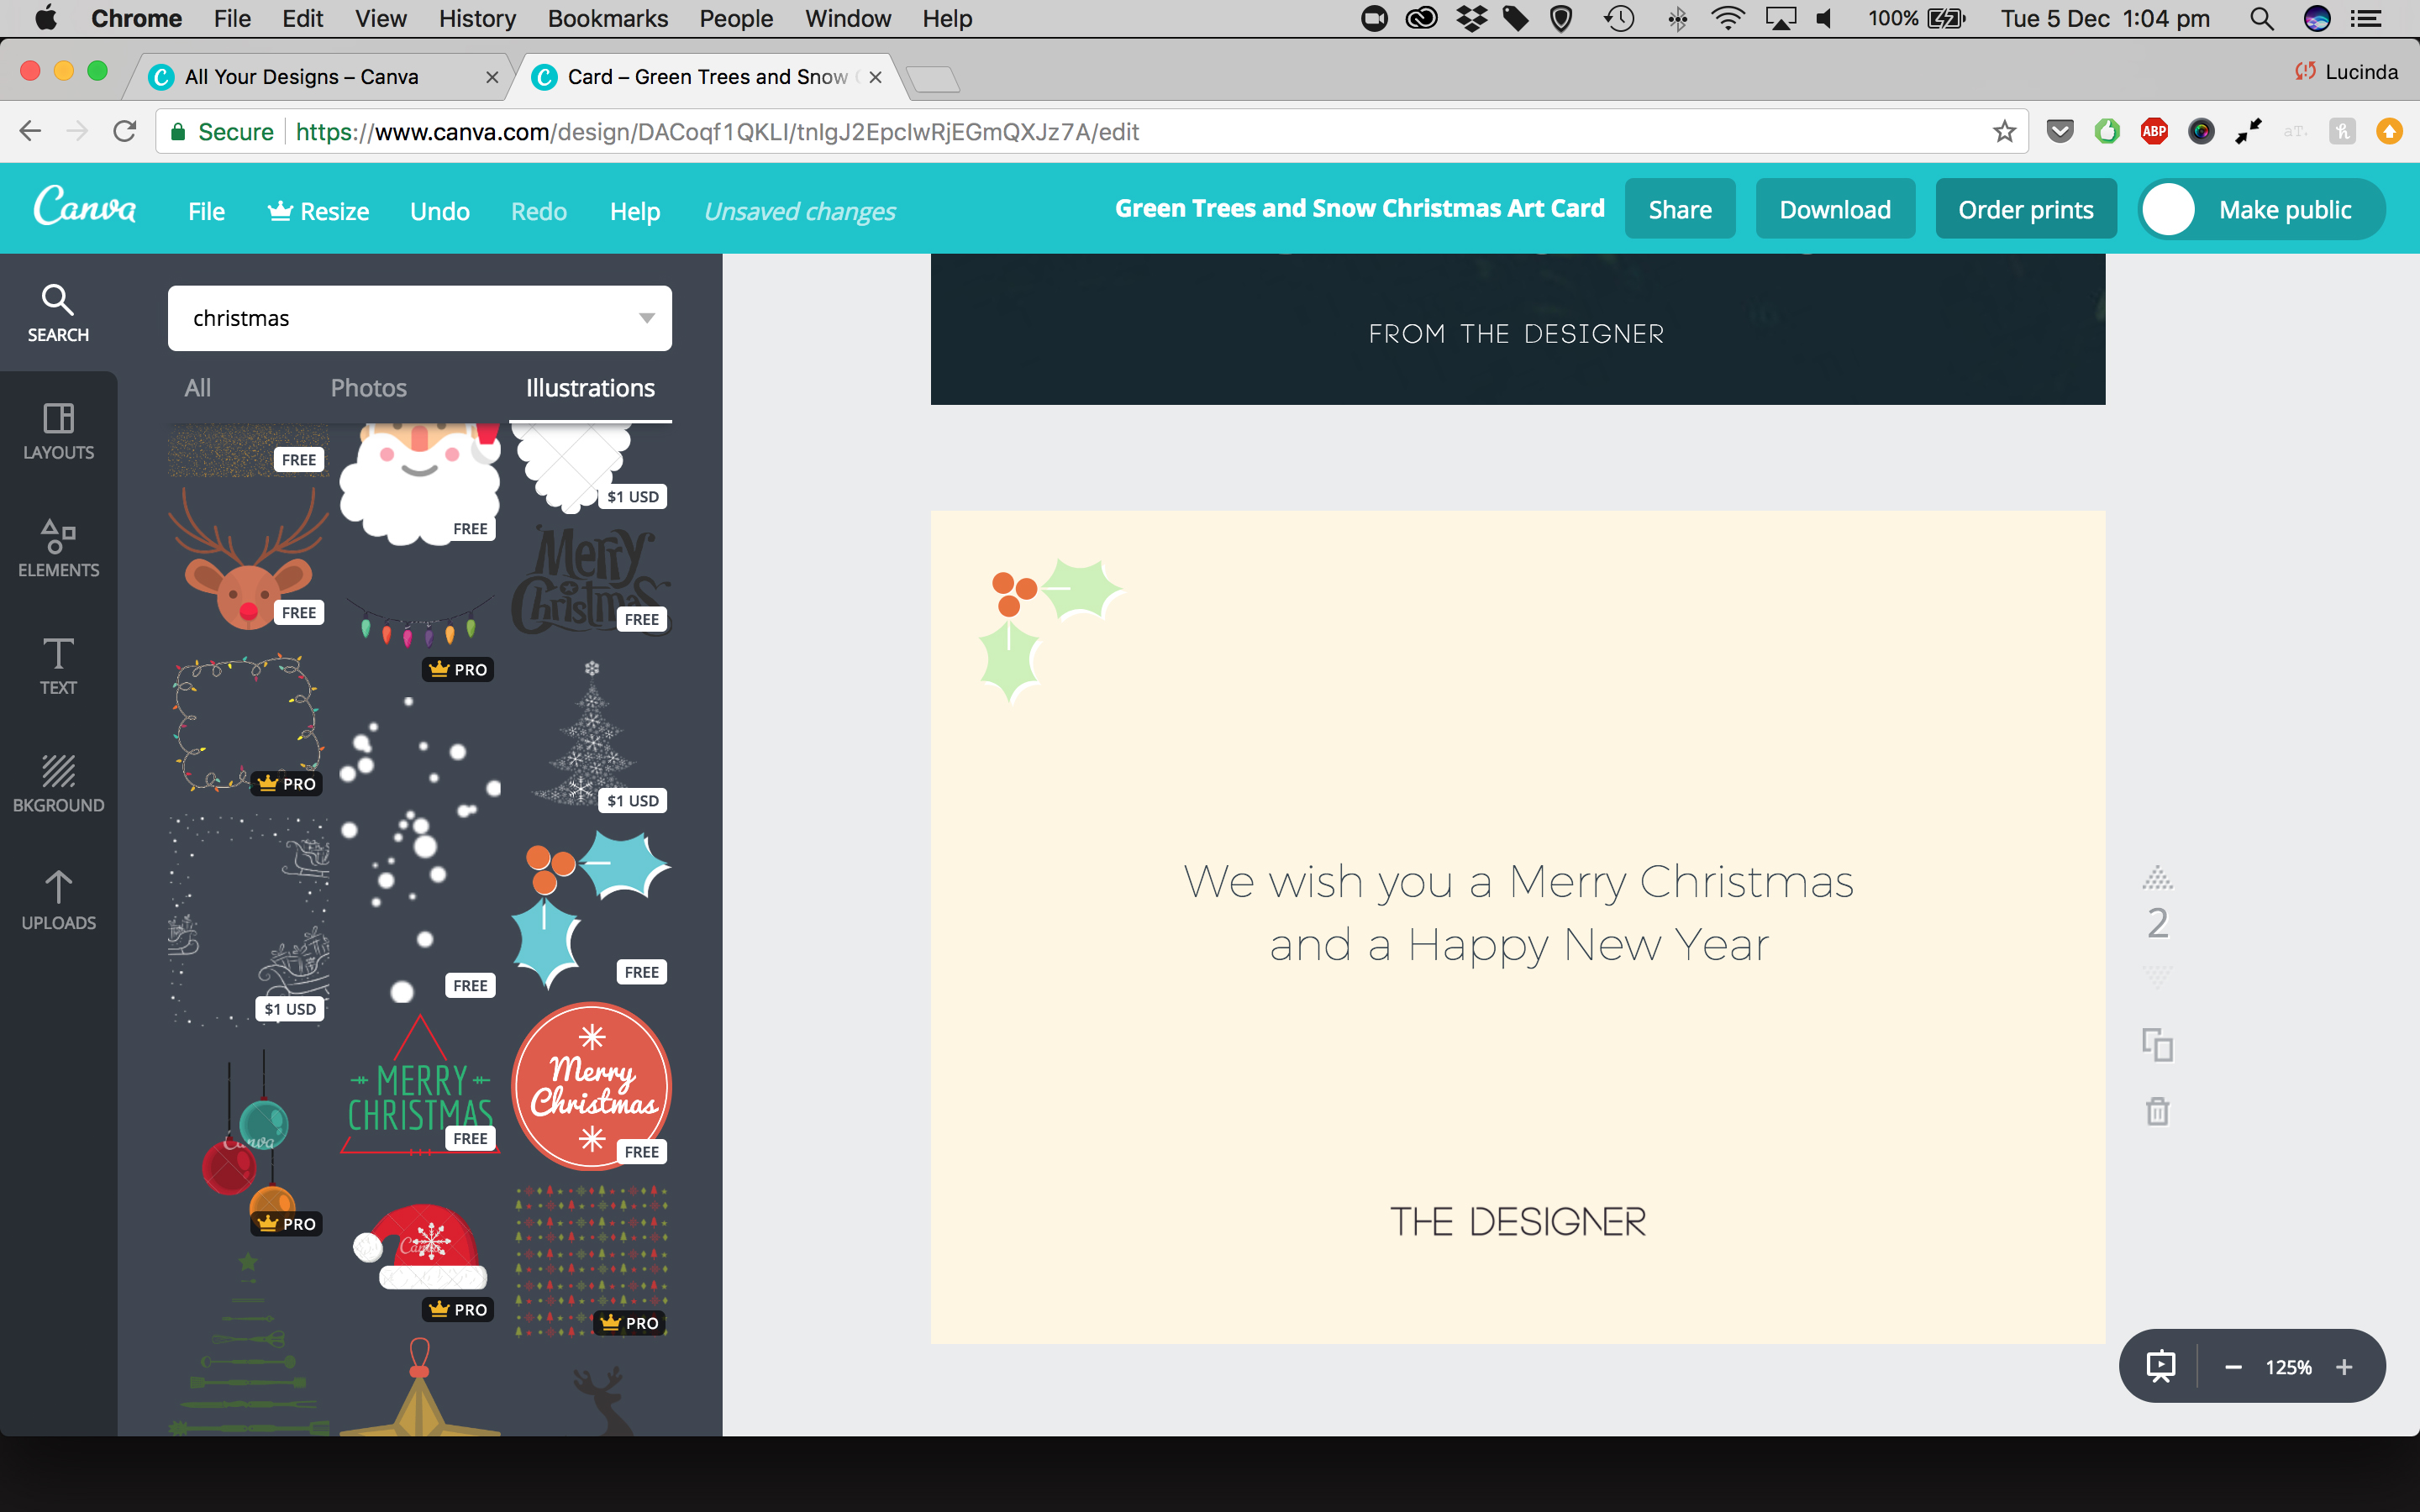
You can even add new objects. To do this search a keyword in the search tab. For example ‘Christmas’. Select ‘illustrations’ under the search tab. There will be a range of objects you can drag and drop onto your template.
You can play around with the sizes and colours of these objects too.
Step 5 – Images
If you want to add an image to your template there are a selection of free images available, or you can upload your own.
To use a free canva image, select ‘photos’ under the search tab instead of ‘illustrations’. Again just drag and drop the image you like onto your template. To make the image bigger or smaller select a corner of the image and drag it in or out.
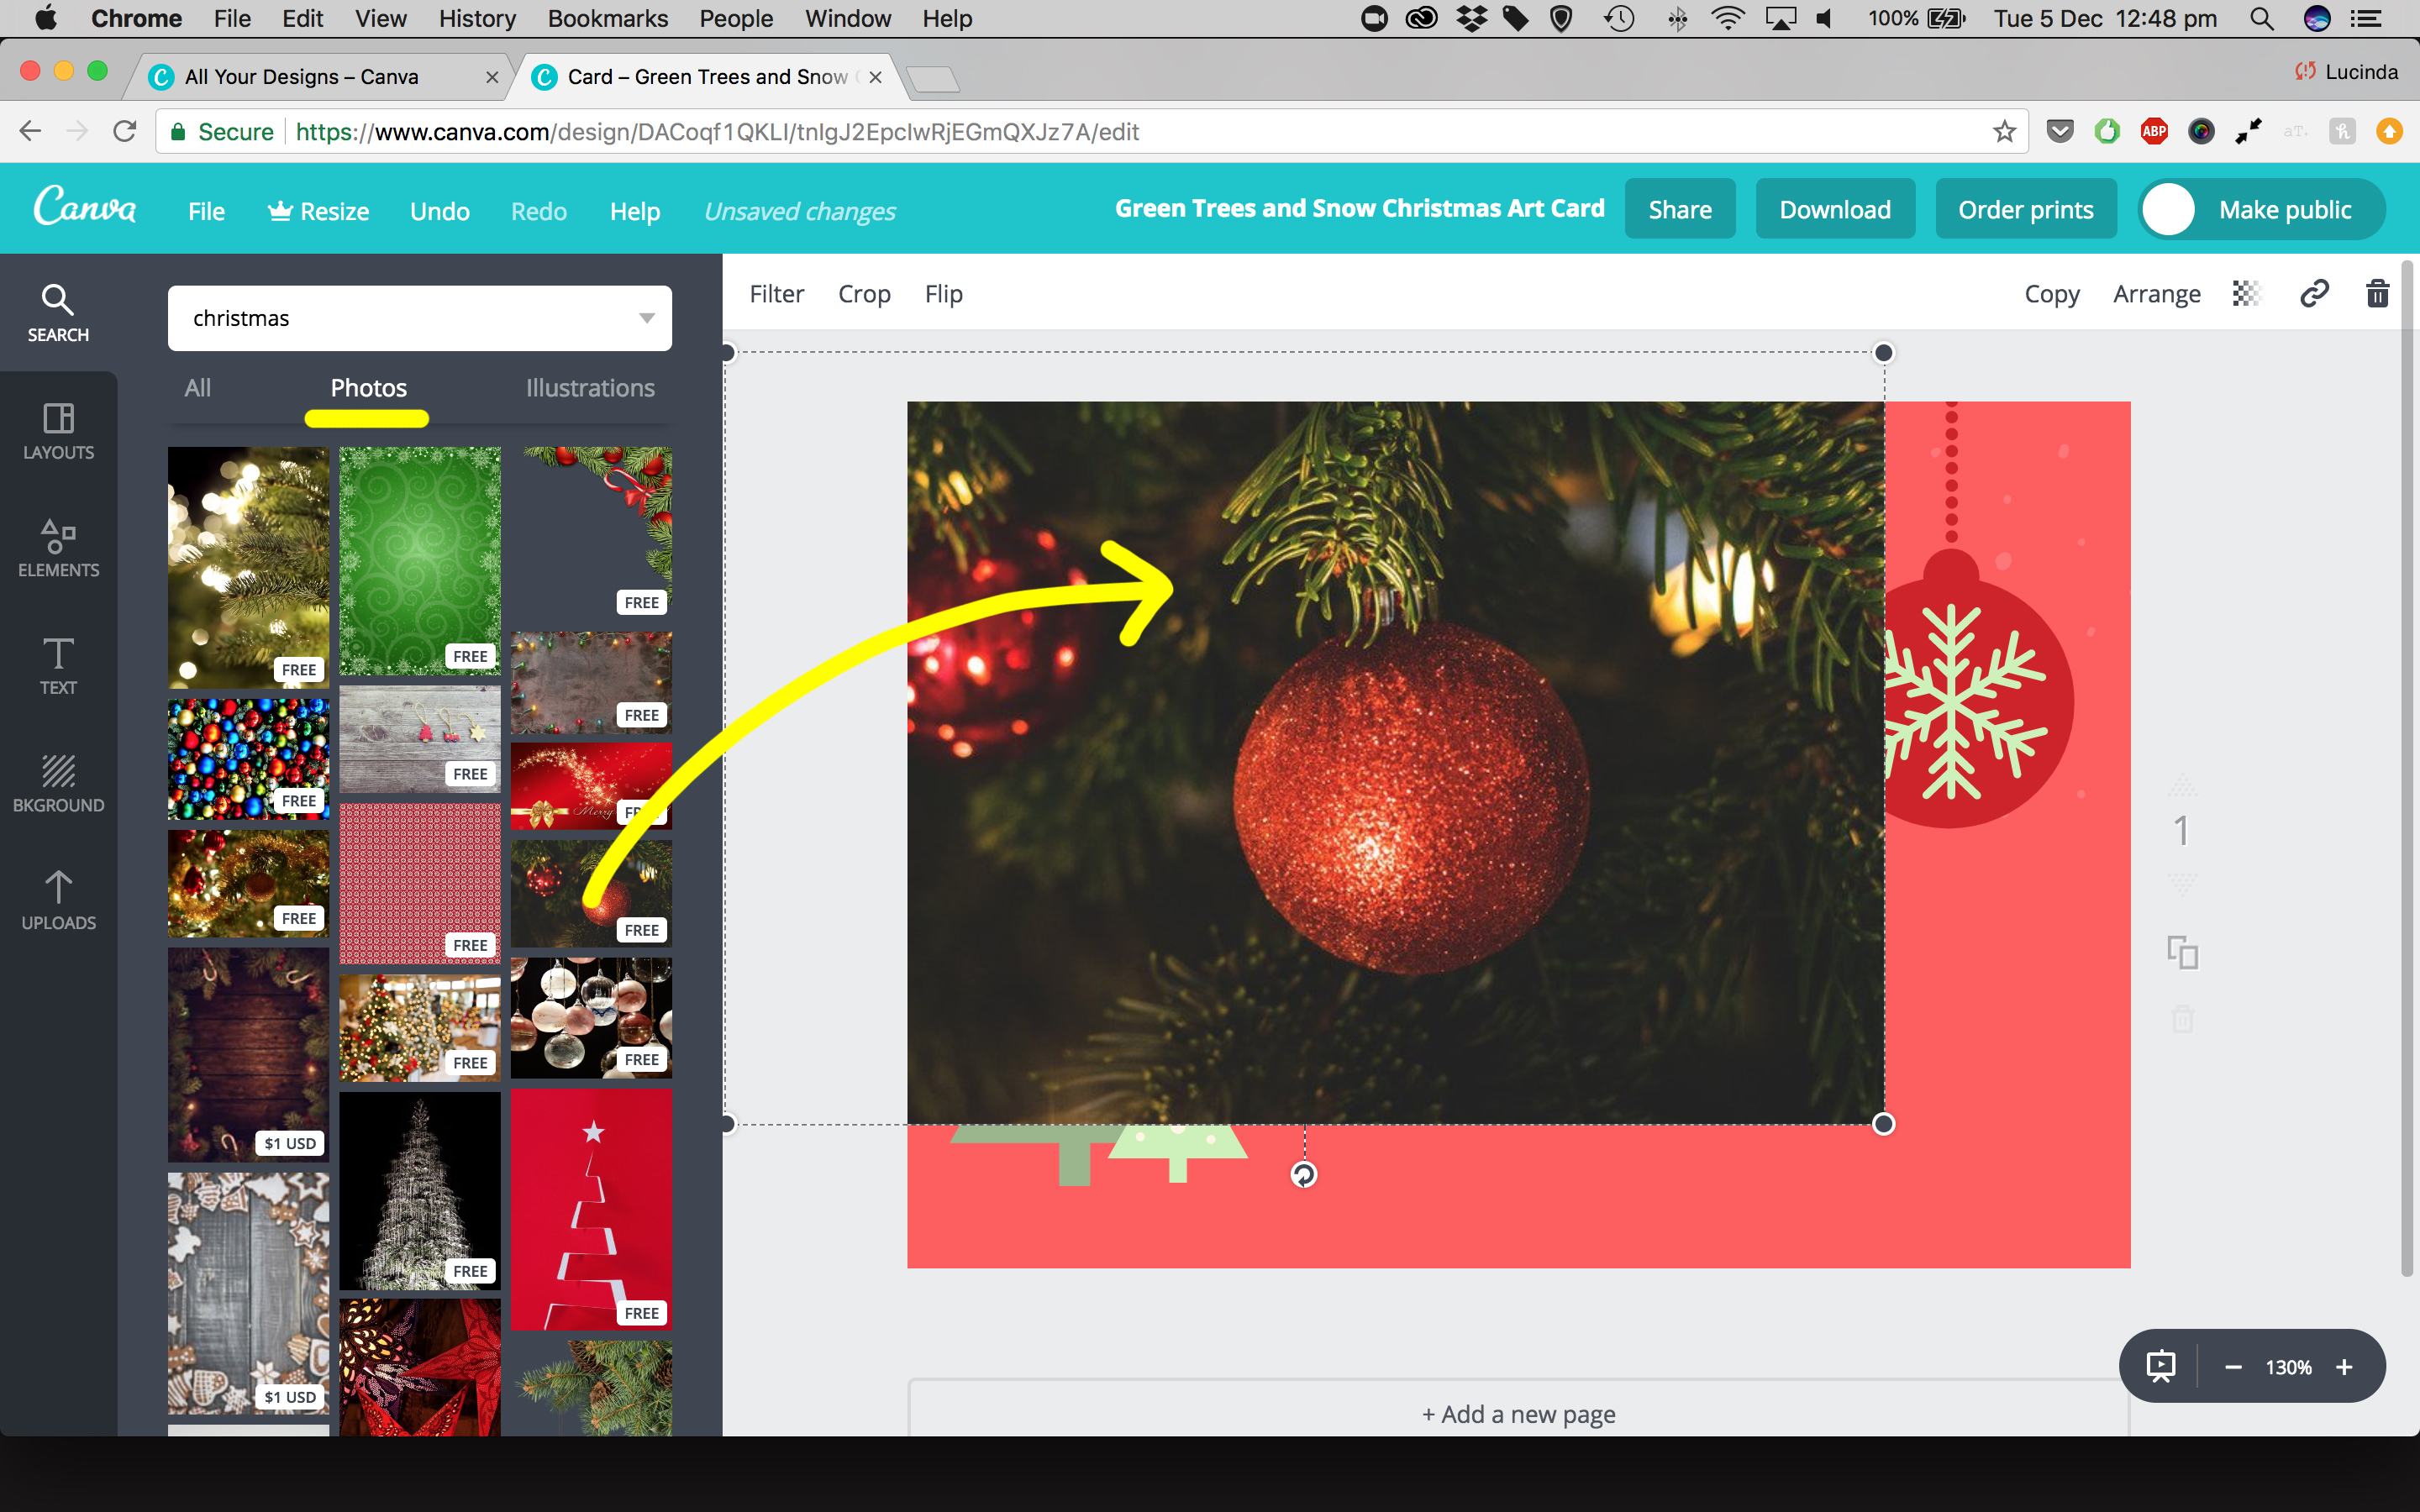
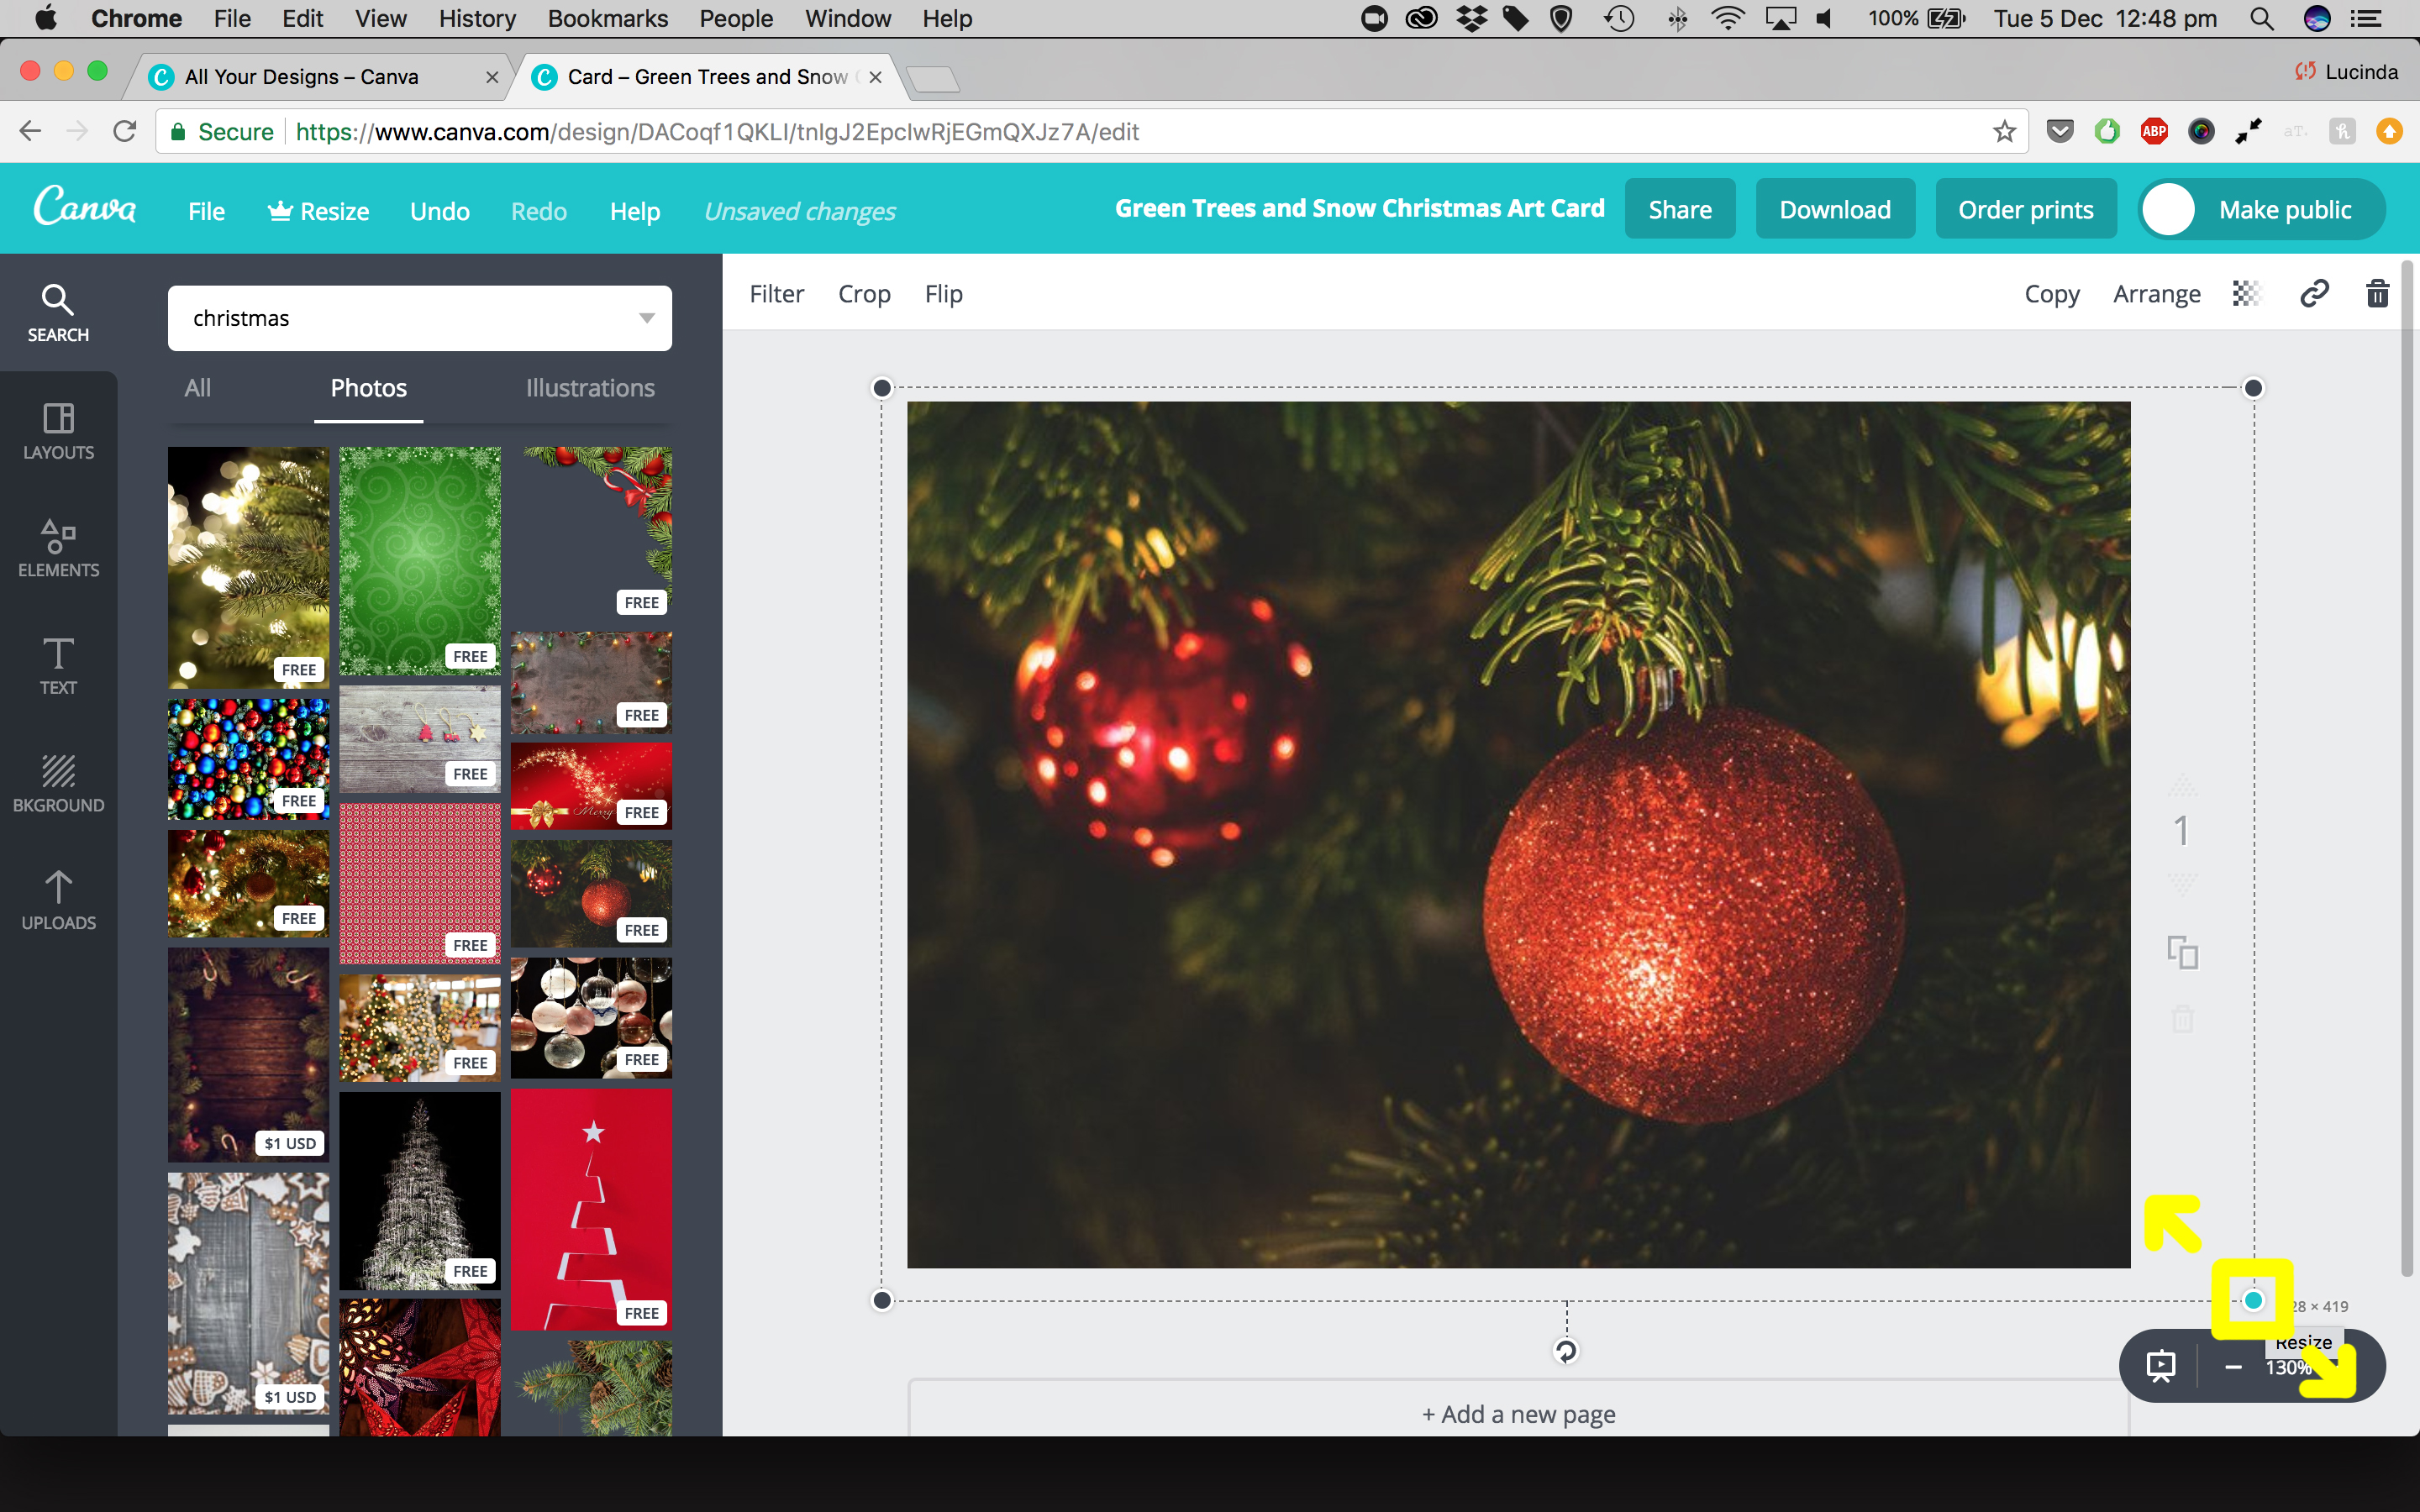
When you click out of the image it will automatically move to the back, behind your content.
Step 6 – Uploading your own image
To upload your own image select the ‘uploads’ tab of the left bar, click the ‘upload your own images’ button. Choose the image from your computer and click ‘open’.
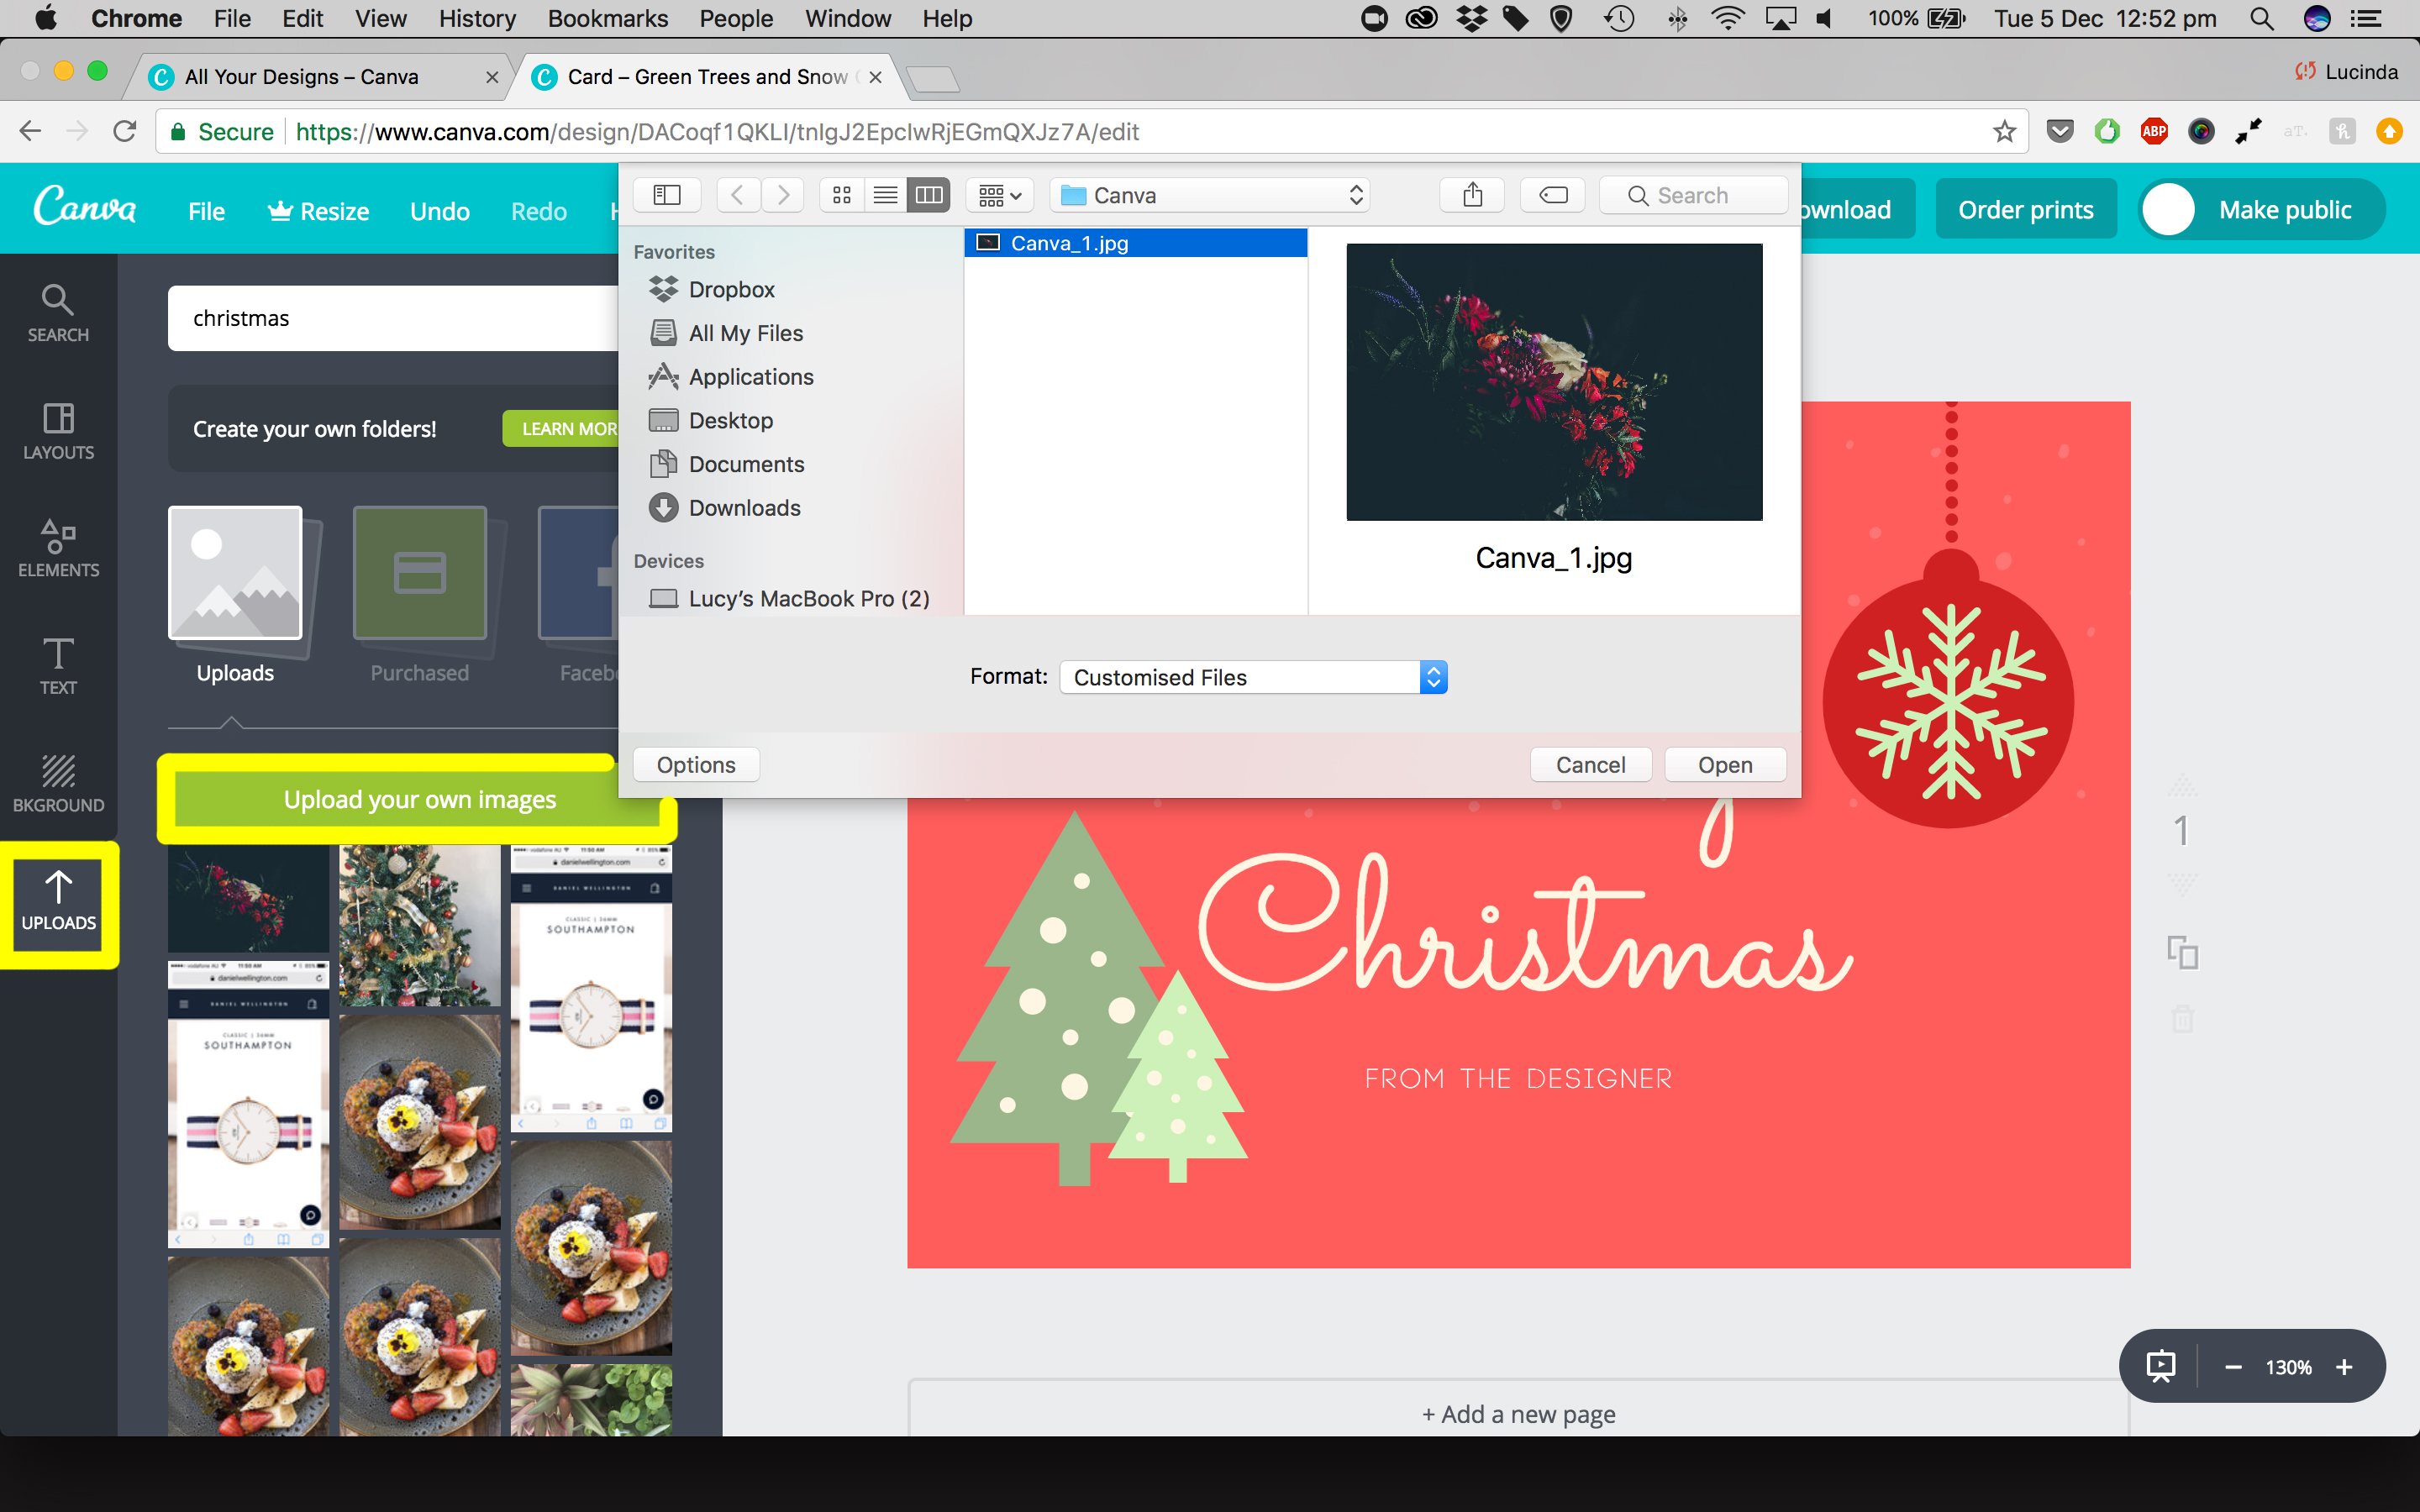
Wait for the image to upload then drag it over onto your template. Again, you can resize and move around the image.

* Note: if the image is too big part of it are off the screen, you can use the zoom in and out tool in the bottom right corner so that you can see your full workspace properly.

* Note: if you want to move an object, image or text box forward or backward so that it appears infront or behind something else, select the object, then click the ‘Arrange’ button in the top white tab, then select forward or backward until it appears where you want it.
Step 7 – Saving your Christmas card
When you are happy with your unique design you need to decide, do you want to…
- Save it to computer to use later (perhaps in a Christmas email, social media post, or at home print)?
- Share it directly to a social media page?
- Have several copies printed by Canva and delivered to your door?
- Have several copies printed by a printer of your choice
If the answer is 1, select the ‘Download’ button in the top teal tab and follow the steps. (For the best quality download select ‘PDF – Standard’)
If the answer is 2, select the ‘Share’ button in the top teal tab and follow the steps.
Step 8 – Adding a back page to your Christmas card
If the answer is 3 or 4, you may want to consider adding a second page to your template so that you have a double sided Christmas postcard.
To do this, select the ‘+ Add a new page’ button below your design.
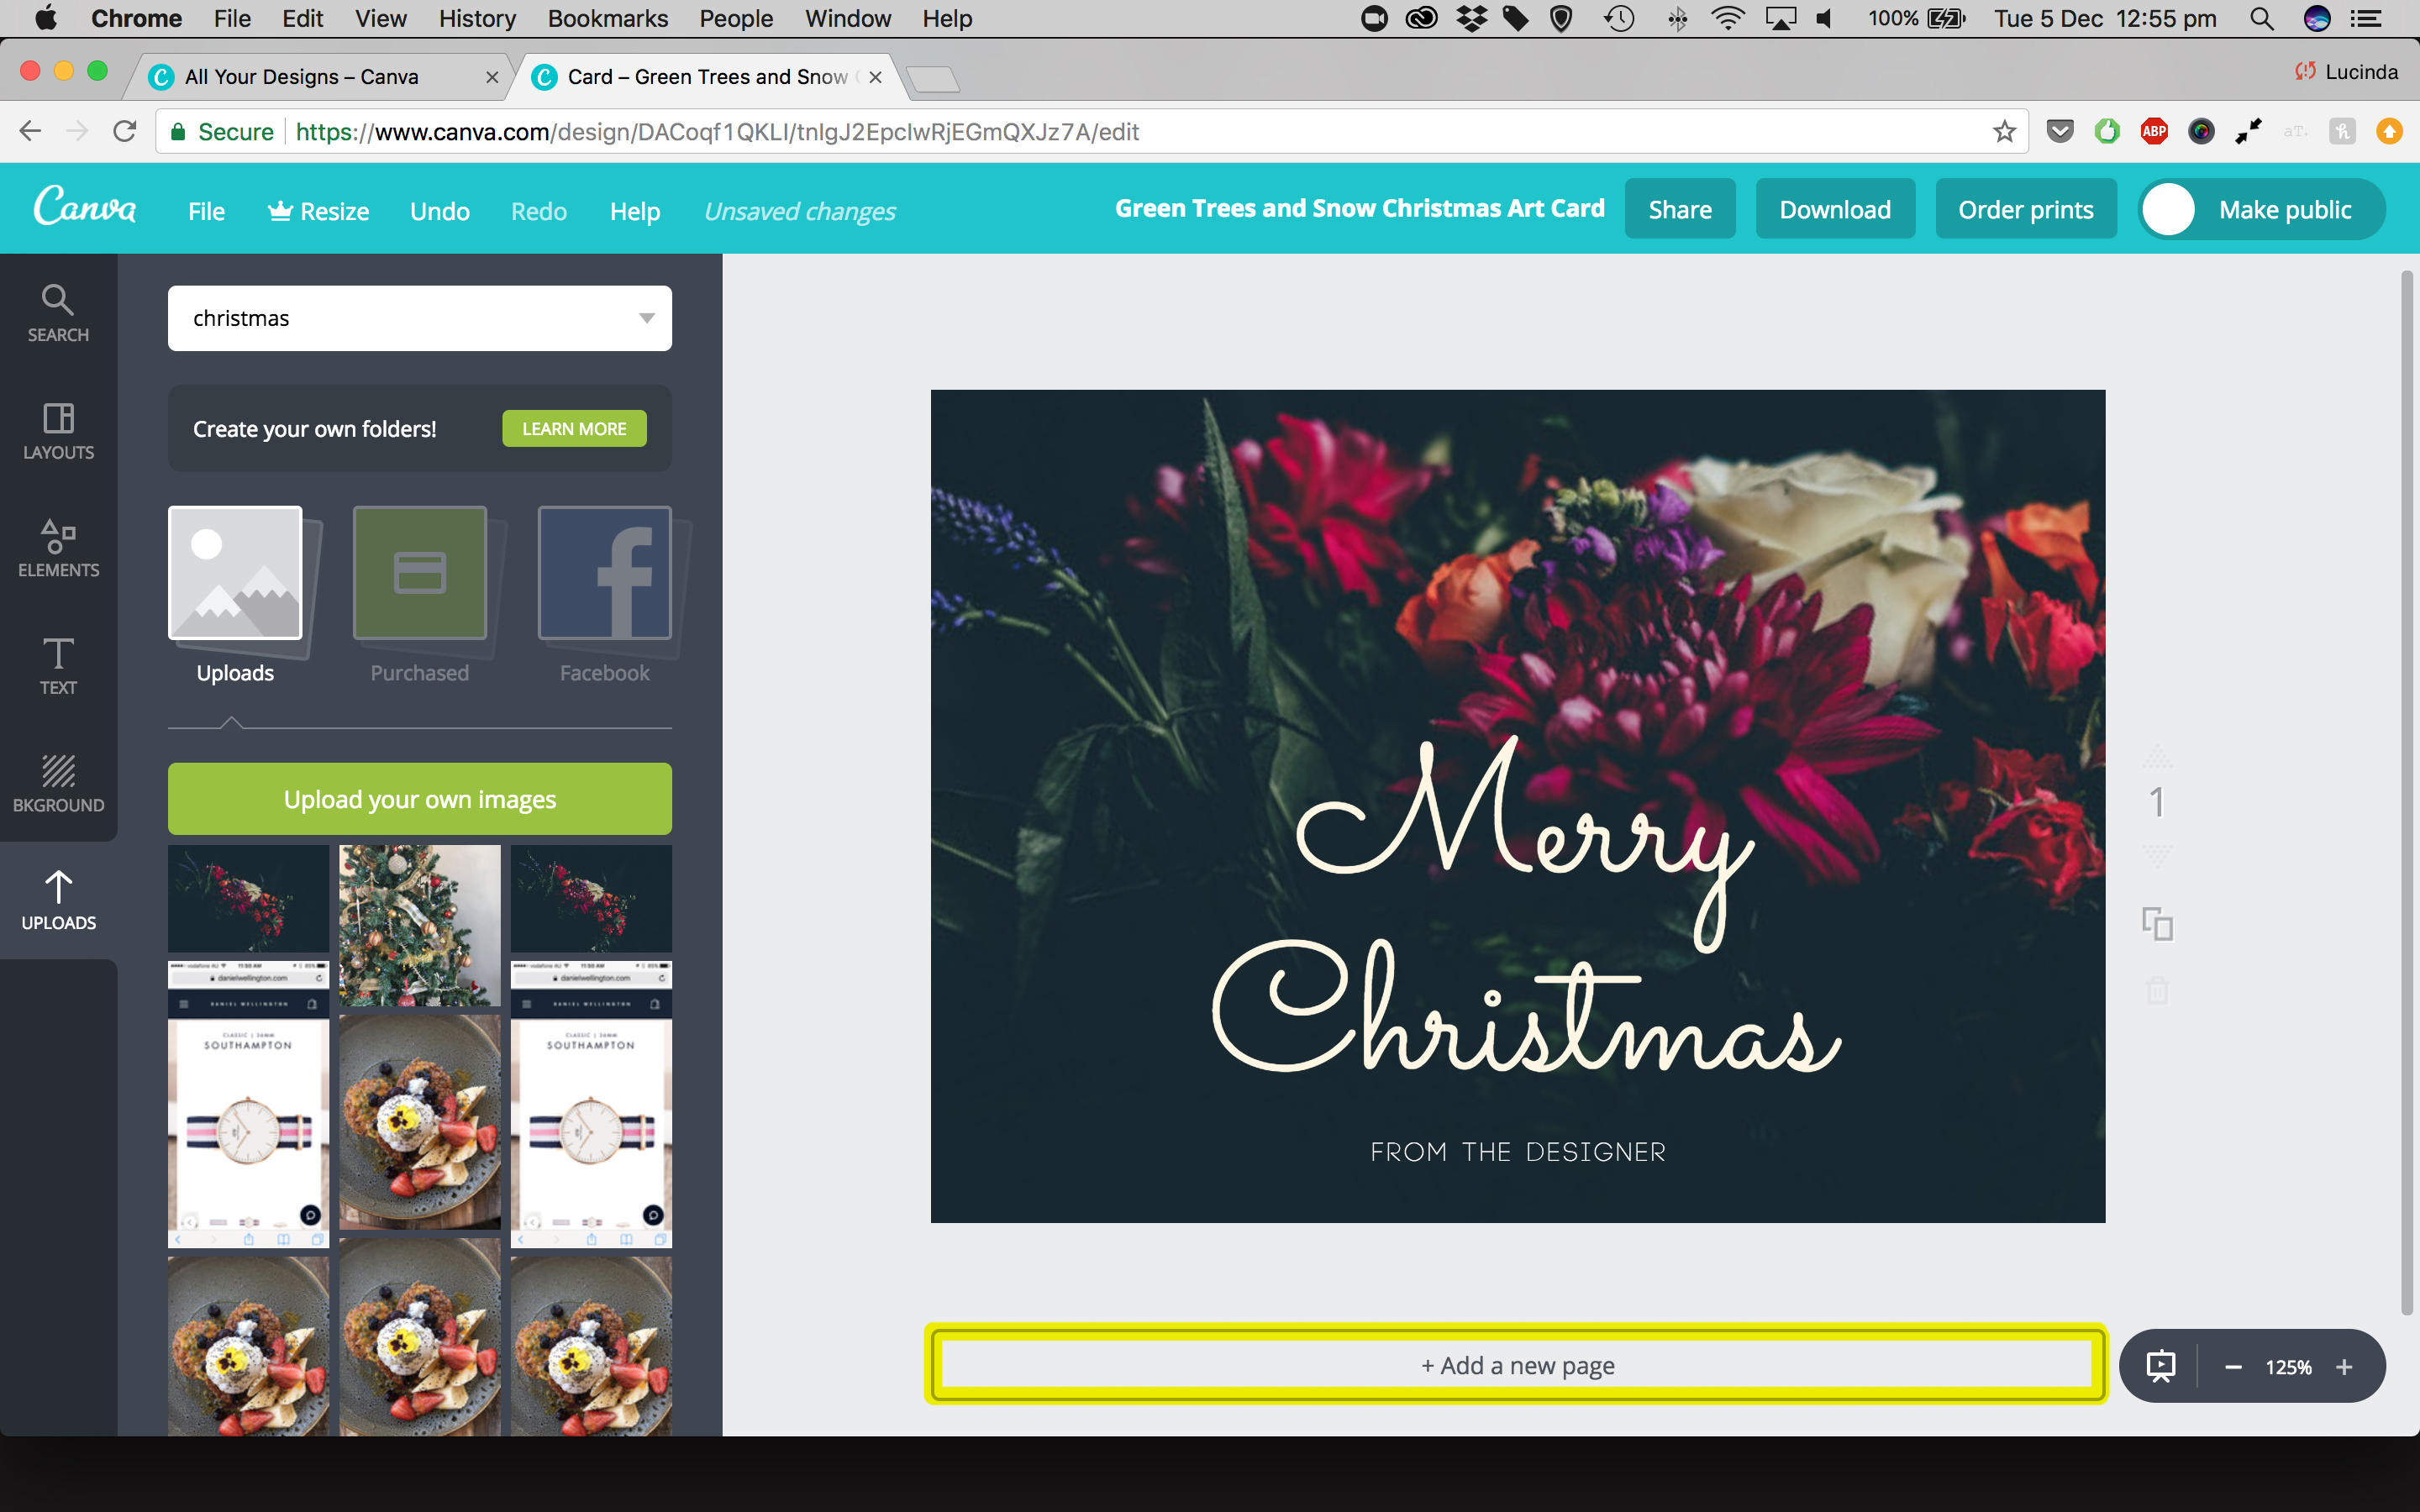
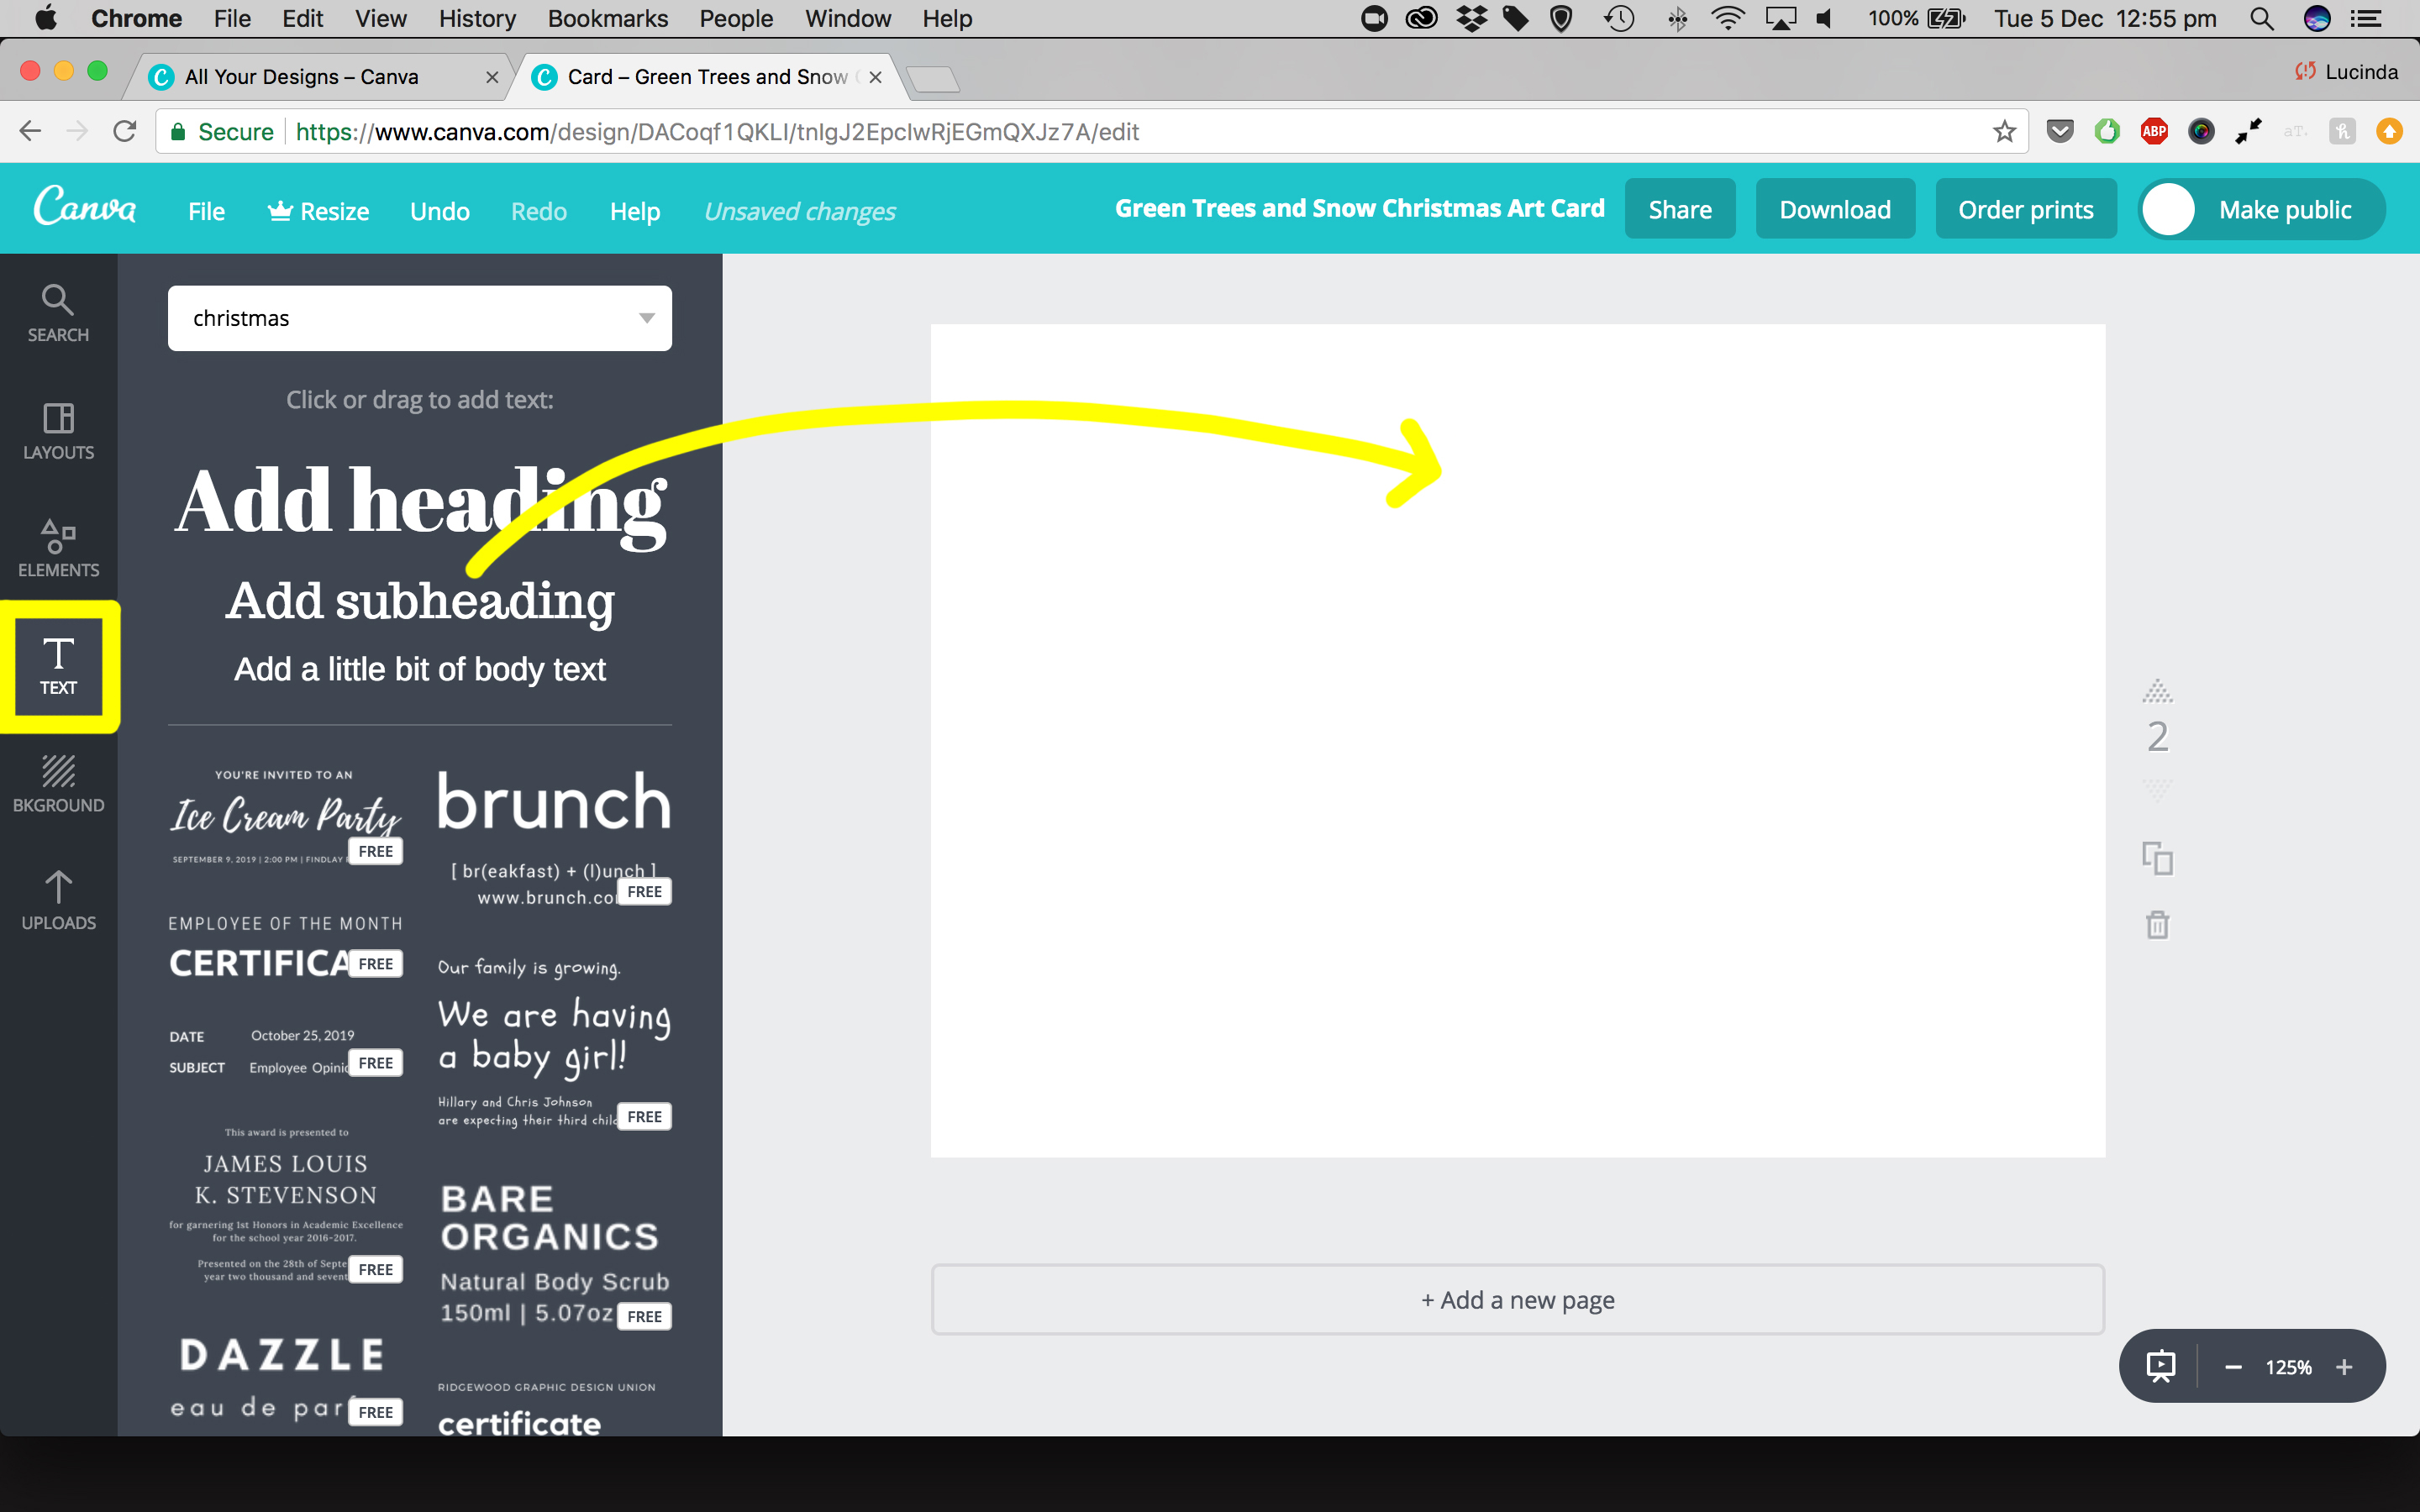
If you would like to add text to this page select the ‘Text’ tab in the left panel. Select the type of text box you want and drag it onto the page.
From here you can change the background, add in any objects or images and play around until you have a design you are happy with.
Step 9 – Saving your Christmas card to take to a printer
Now, if your answer earlier was C and you would like to save the double sided Christmas card to take to a printer of your choice, select the ‘Download’ button in the top teal tab, select ‘PDF – Print (Reccomended)’ and make sure the ‘Crop marks and bleed’ box is ticked.
Step 10 – Printing your Christmas card with Canva
Lastly if you would like to order prints through Canva and have them delivered to you, select the ‘Order prints’ button, select the ‘Postcard’ setting, click ‘Update format’ then follow the steps. (Make sure you have selected the ‘Double sided’ option if you have created a second page and want this to be printed on the back of your main design).

